How to Create Lip Sync Animations Using AI
These days, making lip sync animations has become surprisingly simple, thanks to AI-powered tools. A few years ago, creating animations that matched audio perfectly would’ve required advanced software and a lot of manual effort.
Now, it’s something anyone can do with just a few clicks. However, not every AI video generator out there is capable of syncing lip movements accurately with audio.
After testing several tools, I found two websites that make this process easy and fun. Here’s how I went about it.
Set Up your Reference Image
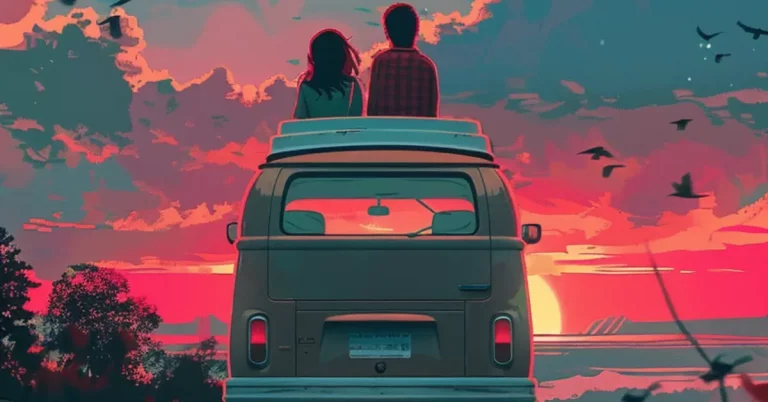
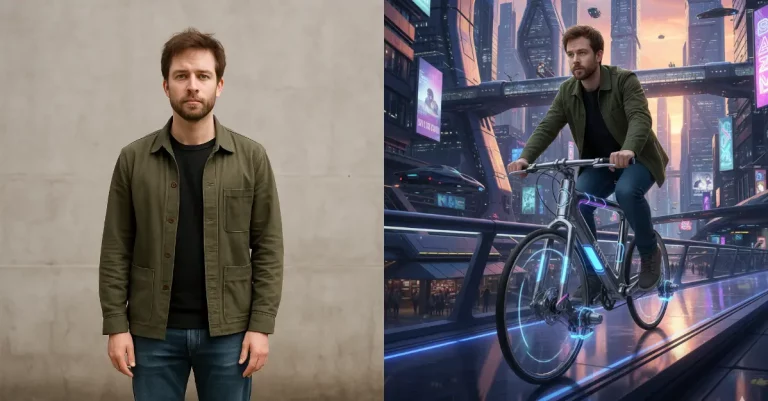
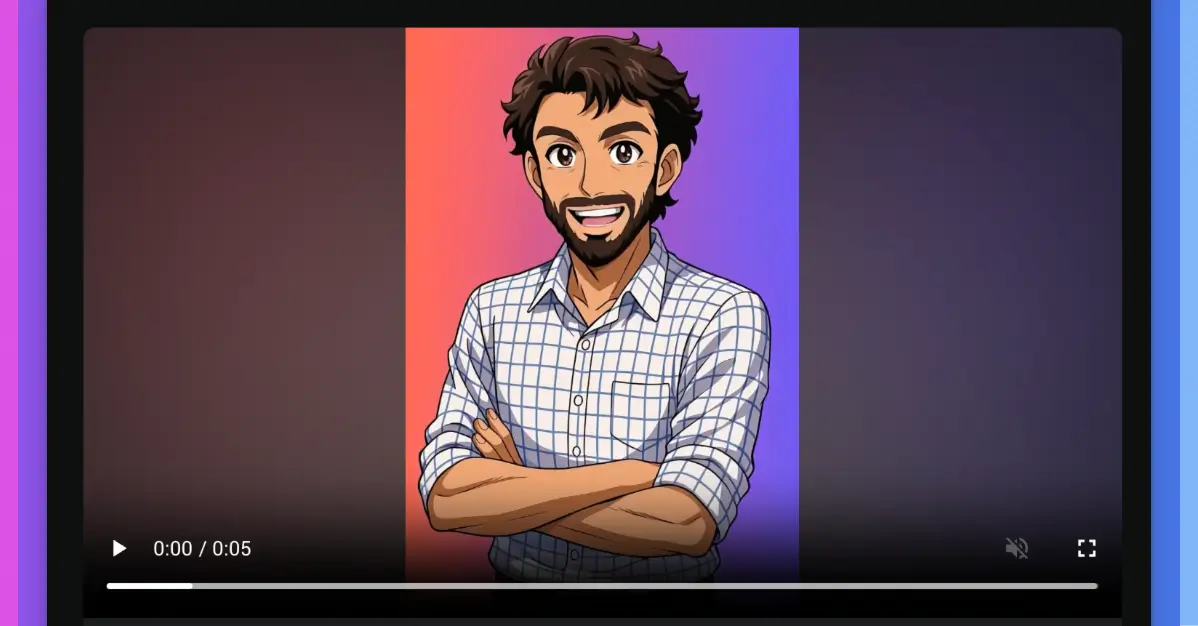
Before anything else, you need a good reference image. This image will act as the face of your animation. I wanted something playful and expressive, so I decided to turn my photo into an anime-style artwork.
Anime-style images tend to have bright colors and exaggerated expressions, which work great for animated videos.
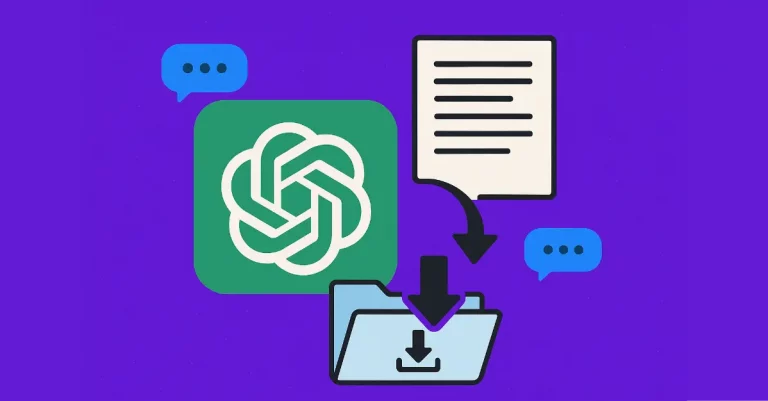
To create this, I used ChatGPT’s image feature. I simply uploaded a clear photo of myself to chatgpt.com and used the following prompt:
Turn this image into an anime-style artwork with sharp outlines, bright colors, and expressive eyes.
Within moments, I had a vibrant anime version of myself. It was perfect for what I had in mind.

If you’re planning to try this, make sure your original photo has good lighting and a clear view of your face. It helps get better results.
Generate Audio
Once the image was ready, it was time to create the voice. I’ve been using Elevenlabs for a while now because it’s reliable and beginner-friendly. Plus, their free tier gives you 10,000 monthly credits, which is more than enough for short projects.
Here’s how I did it:
- Head over to Elevenlabs and log in or sign up.
- Go to the “Text to Speech” section.
- Type or paste the text you want your character to say.
- Choose a voice from their library—there are plenty of options to suit different moods.
- Click on “Generate speech.”
- Once it’s ready, download the audio file.
I like to keep my scripts short and natural-sounding. AI voices have improved a lot, but keeping sentences clear makes the lip sync more accurate.
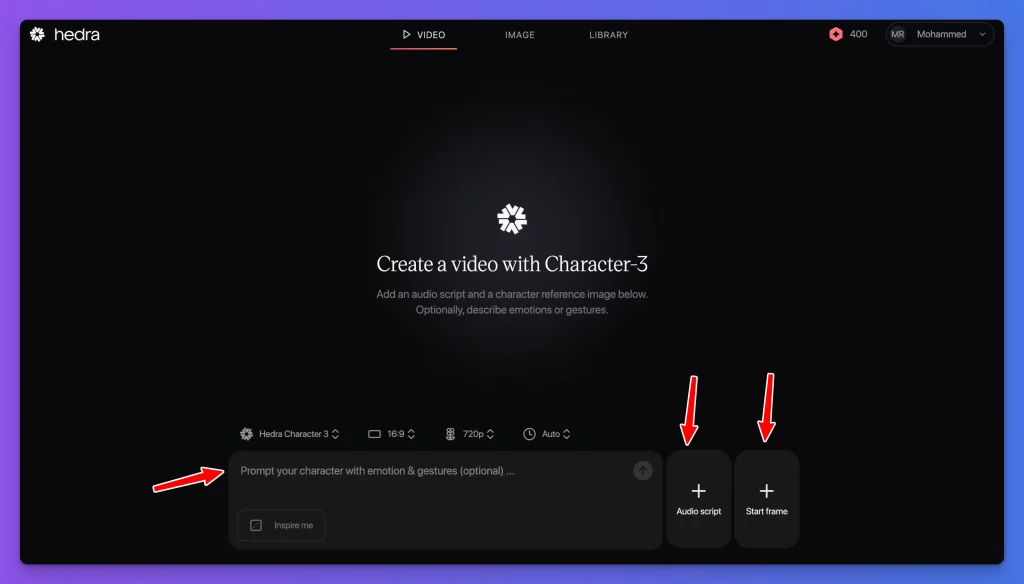
Create Lip Sync Videos Using Hedra.com
With both the image and audio ready, I moved on to creating the actual animation. Hedra was the first tool I used. You get 400 free credits when you sign up, which is enough for experimenting.
Here’s a step-by-step guide:
- Visit hedra.com and log into your account.
- Select the “Video” feature from the dashboard.
- Pick the Character 3 model, as it’s designed for lip sync animations.
- Upload your audio file under “Audio script.”
- Upload your anime-style image in the “Start frame.”
- Adjust settings like aspect ratio and resolution. I picked 9:16 because it’s ideal for platforms like Instagram Reels or TikTok.
- Add a simple prompt. I went with: “Talking video with hand gestures.”
- Hit the arrow button to start generating.
If you’re using the free credits, expect to wait a little while. The servers can be busy, but the final result is worth it.
One thing I really liked about Hedra is that it automatically adjusts the video length to match your audio. You don’t have to worry about trimming or extending clips manually.
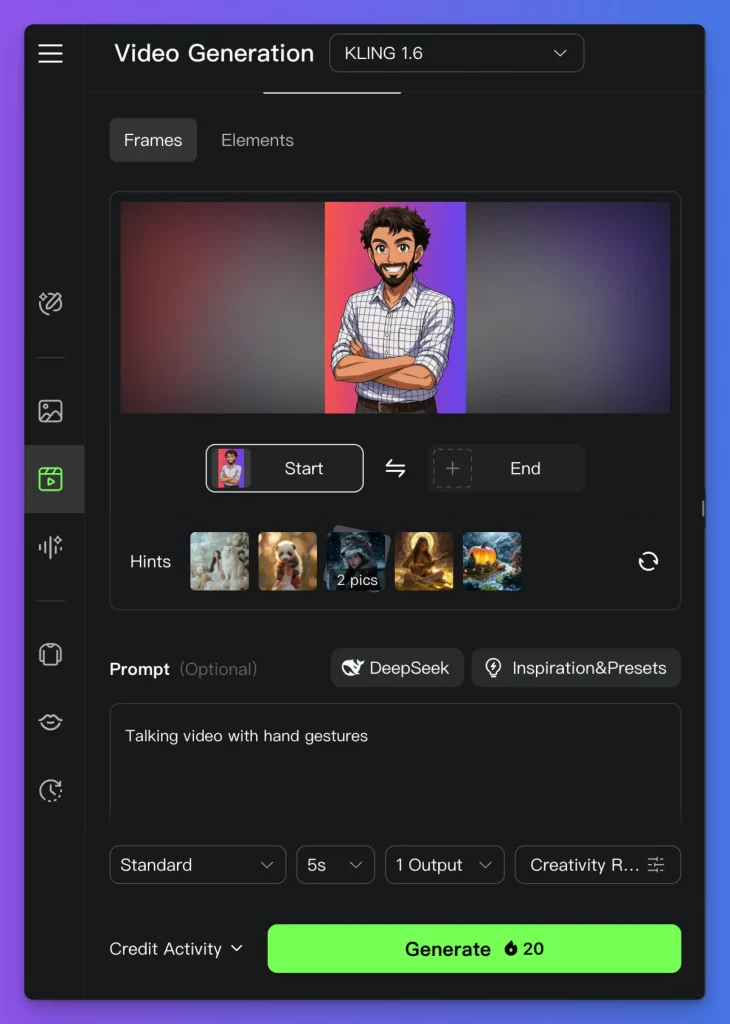
Create Lip Sync Videos Using KlingAI
Next, I gave KlingAI a shot. It’s another solid option, offering 166 free credits to get you started. KlingAI has a slightly different process but gives impressive results, especially when it comes to adding natural hand gestures.
Here’s how I worked through it:
- Go to app.klingai.com and log in.
- From the sidebar, select “Video.”
- Choose “Image to Video.”
- Upload your anime-style image.
- Enter a creative prompt. I stuck with: “Talking video with hand gestures.”
- Click on generate and wait for the video to be created.
Once the base video is ready, it’s time to sync the audio:
- Click on the “Lip Sync” feature.
- Use the “Upload Local dubbing” option to upload your audio file.
- Generate the final version of the video.
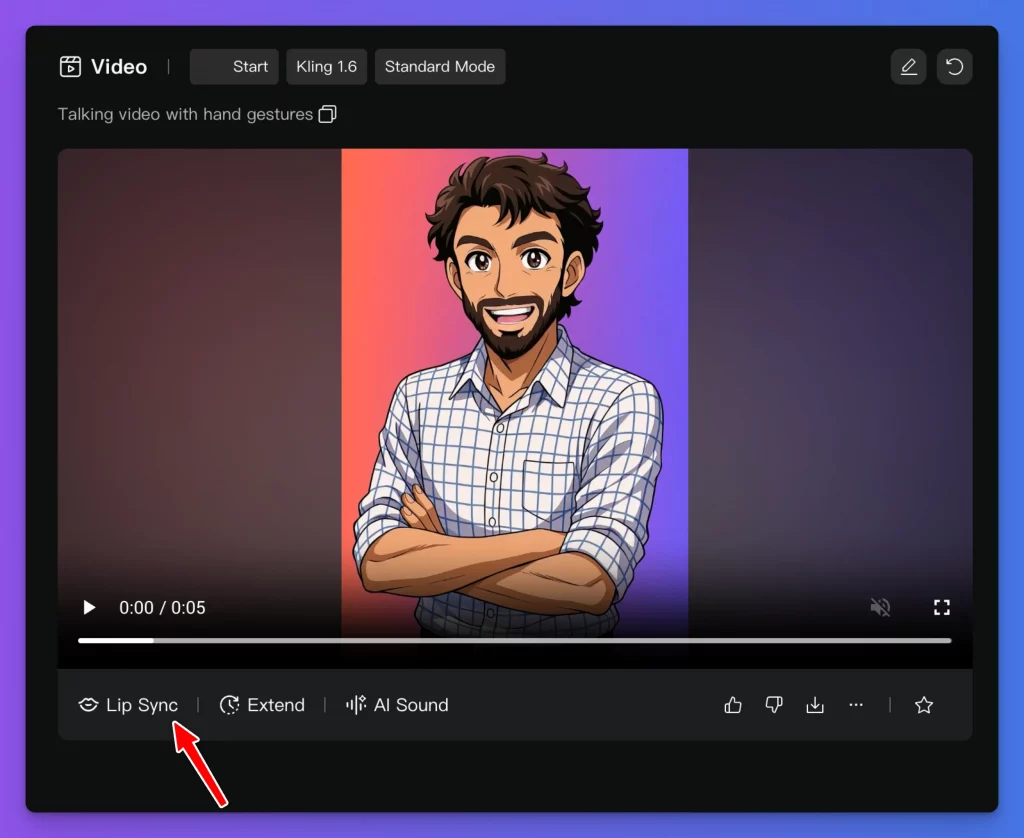
KlingAI does a great job syncing lips and adds smooth gestures automatically. It gives your character a more dynamic feel, which I really appreciated.
However, a small limitation is that KlingAI bases the video length on the first generated clip. So if your audio is longer than expected, you might need to tweak things or adjust your initial video generation.
Hedra and KlingAI Comparison
After using both platforms, here’s what stood out to me:
- Hedra: Best if you have varying audio lengths. It adjusts automatically, making it easier to sync longer dialogues or speeches.
- KlingAI: Great for adding realistic gestures and smoother facial animations. But you’ll need to plan your video duration in advance.
If you’re aiming for social media content like reels or shorts, both tools can get the job done. It really depends on whether you value flexibility in video length or more refined animations.
Extra Tips for Better Lip Sync Animations
Over time, I picked up a few tricks that helped improve my results:
- Use expressive images: The more emotion in your character’s face, the better the animation looks.
- Keep background simple: These tools focus on animating faces, so avoid busy backgrounds that might distract from the character.
- Short sentences work best: AI lip sync tools handle short, clear phrases better than long, complicated sentences.
- Test different prompts: Sometimes adding details like “smiling while talking” or “nodding occasionally” can make your video feel more natural.
Both platforms give you enough free credits to try different settings, so play around until you find a style that suits your project.
Creating lip sync animations has never been easier. With tools like Hedra and KlingAI, you can turn a simple image and a bit of text into a lively animated video in less than an hour.
Whether you’re making content for fun, adding personality to your YouTube videos, or even creating engaging social media posts, these AI tools open up plenty of possibilities without needing advanced animation skills.
If you haven’t tried them yet, I’d suggest giving both a shot to see which one fits your style better. It’s a fun process, and you might be surprised at how professional your animations can look with just a bit of creativity and the right tools.