How to Create Seamless Patterns Using AI
I wanted to create seamless patterns, and I thought AI would make it easy. But it wasn’t as straightforward as I imagined. This blog post is about how I learned to create seamless patterns using AI.
When I started, I realized there are two main steps to create high-quality patterns. First, we use an AI tool to generate the basic design. Then, we use a photo editing tool to refine and complete the pattern.
I’ll walk you through my process, sharing what worked for me and the challenges I faced. If you’re a designer looking to speed up your workflow or just someone curious about AI-assisted design, I hope you’ll find this helpful.
What are Seamless Patterns?
Before we dive into creating patterns with AI, let’s talk about what seamless patterns actually are.
A seamless pattern is a design that can be repeated over and over without visible breaks or seams. When you place multiple copies of the pattern next to each other, it should look like one continuous design.
Think of wallpaper or gift wrap. When it’s done well, you can’t easily spot where one repeat ends and another begins. That’s a seamless pattern.
These patterns are used everywhere – in fashion, interior design, websites, and packaging. They’re great for adding visual interest without being distracting.
Creating a truly seamless pattern by hand can be tricky. You need to make sure the edges of your design line up perfectly. That’s where AI can be really helpful. It can generate designs that are already set up to repeat seamlessly.
Step 1: Generate Pattern Tiles with AI
For this step, I use Midjourney, an AI image generation tool. It’s pretty good at creating interesting designs when you give it the right instructions.
The key here is to create a tile, not a full pattern. A tile is a small section that can be repeated to form a larger pattern. To do this, I add “–tile” at the end of my prompt. This tells Midjourney to make an image that can be tiled seamlessly.
I usually stick with a 1:1 aspect ratio for my tiles. It’s simple and works well for most patterns.
Here’s an example of a prompt I might use:
cute flowers –tile –v 6.1
This tells Midjourney to create a tile with cute flowers. The “–v 6.1” part specifies which version of Midjourney to use.
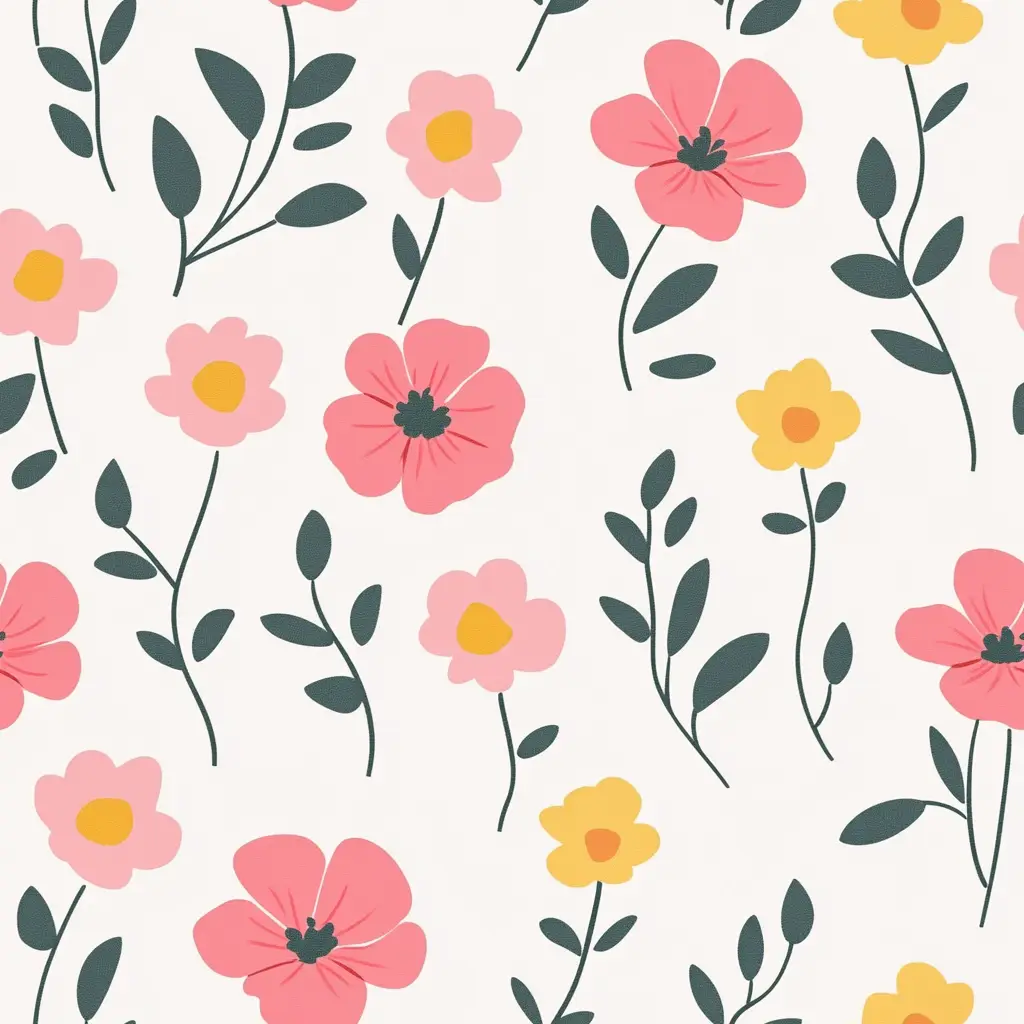
It might take a few tries to get a tile you’re happy with. Don’t be afraid to adjust your prompt or generate multiple options. The goal is to get a tile that looks good and will repeat well.
Remember, we’re not trying to create the full pattern yet. That comes in the next step. For now, focus on getting a single tile that you like and that has potential to make an interesting pattern.
Step 2: Create Complete Patterns with Image Editing Tools
Once I have a tile I like, it’s time to turn it into a full pattern. For this, we need an image editing tool. I use Photopea because it’s free and works in my browser. If you’re familiar with Photoshop, you’ll find Photopea pretty similar.
Here’s how I create the pattern:
- Open Photopea and load your tile image.
- Go to Edit > Define Pattern. This tells Photopea to use your tile as a repeating pattern.
- Make a new document. I usually make it four times the size of my tile. So if my tile is 1024×1024 pixels, I’ll make a 2048×2048 pixel document. I set it to 300 dpi for good quality.
- In the new document, go to Edit > Fill. Choose Pattern from the dropdown menu, then pick the pattern you just made. Click OK.
- Now you should see your full pattern! If you like how it looks, great. If not, you might need to go back and tweak your original tile.
- When you’re happy with your pattern, save it. Go to File > Export As and choose the format you want.
That’s it! You now have a seamless pattern created from your AI-generated tile.
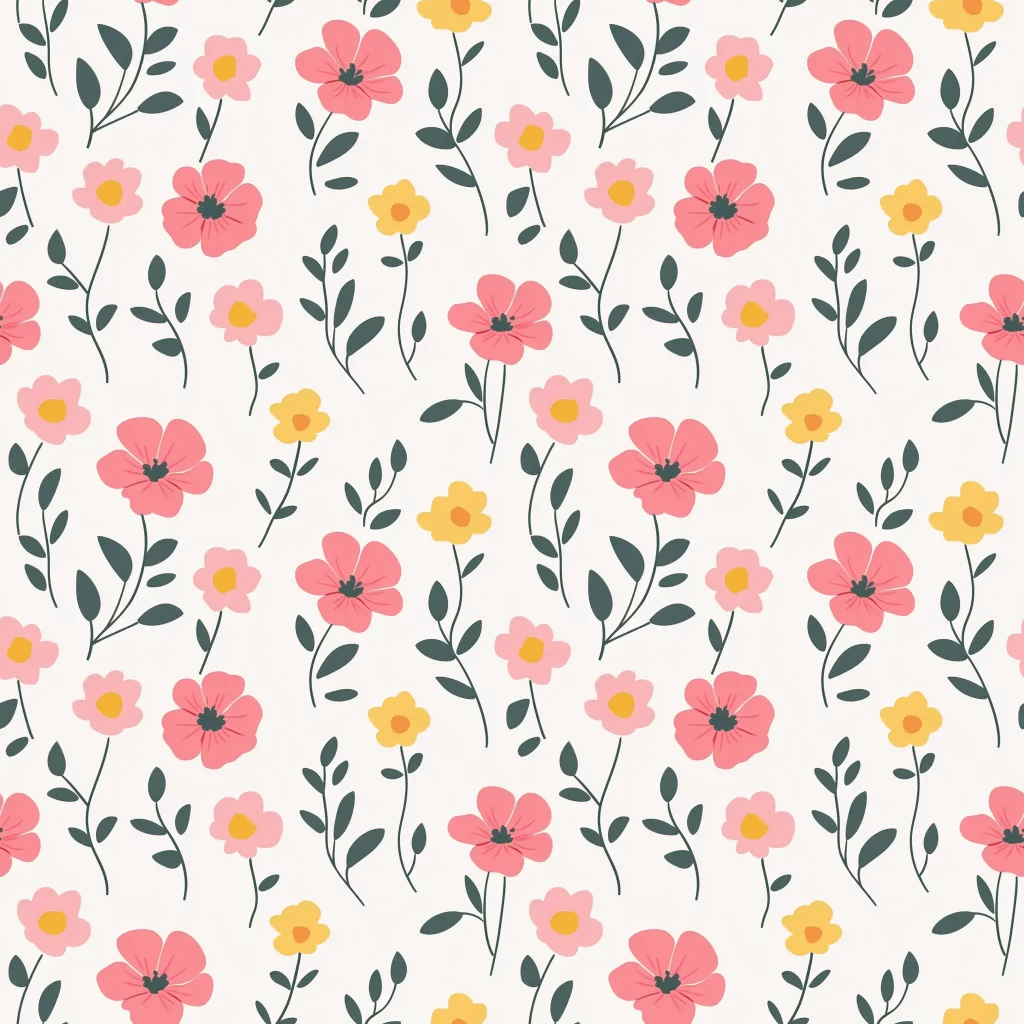
This process might seem a bit technical at first, but after doing it a few times, it becomes pretty quick and easy. The real fun is seeing how your AI-generated tile turns into a full, seamless pattern.
Examples of AI-Generated Patterns
I’ve been having fun with this process, so I want to share some patterns I’ve made. For each one, I’ll show you the prompt I used, the tile Midjourney gave me, and the final pattern I made in Photopea.
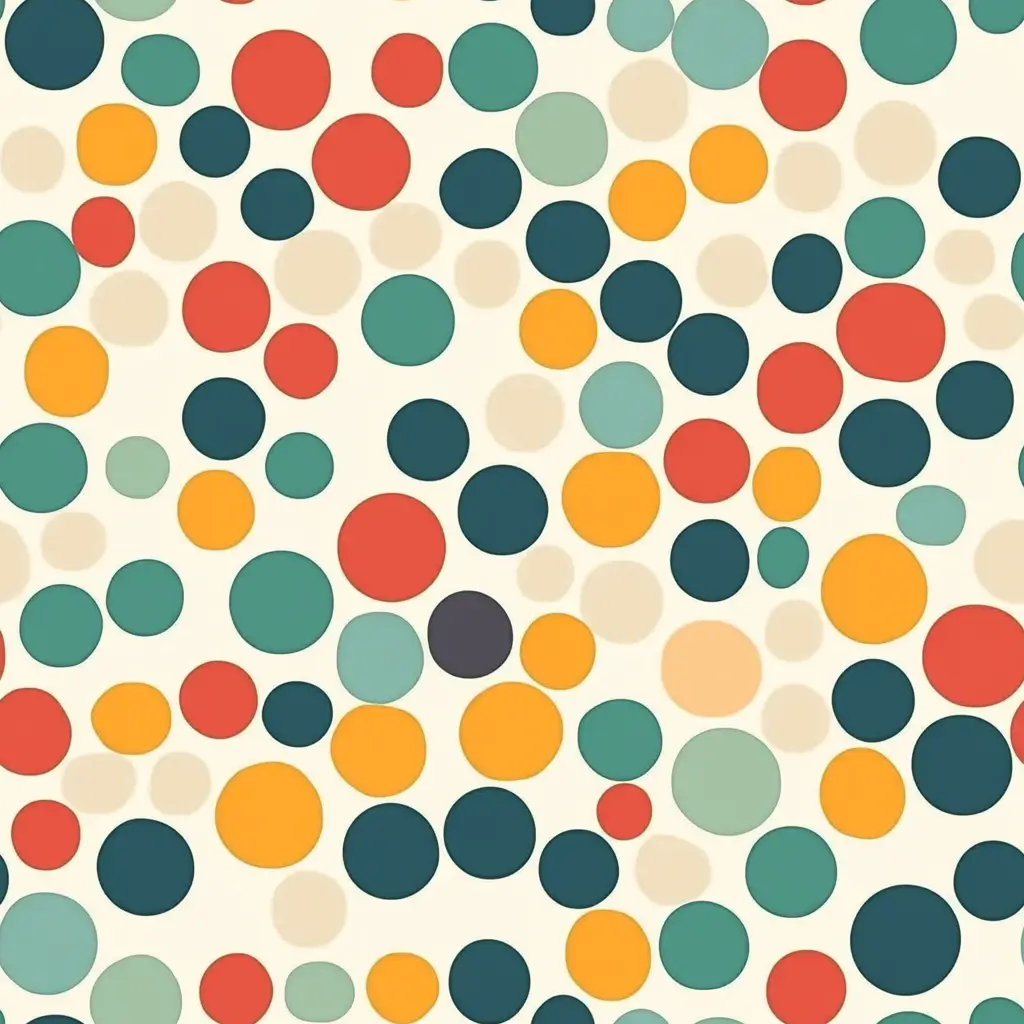
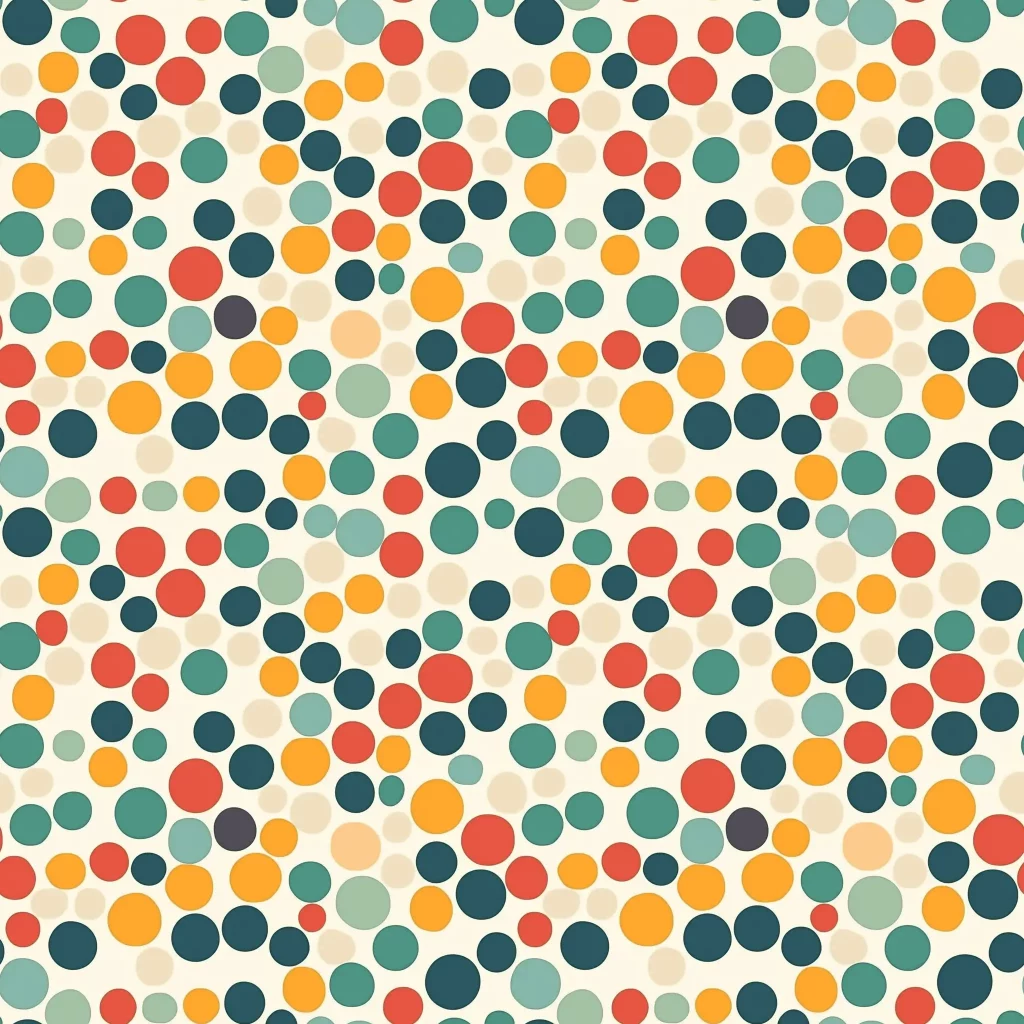
Polkadot Pattern
Prompt: Beautiful polkadot pattern. –tile –v 6.1
This one turned out playful and colorful.
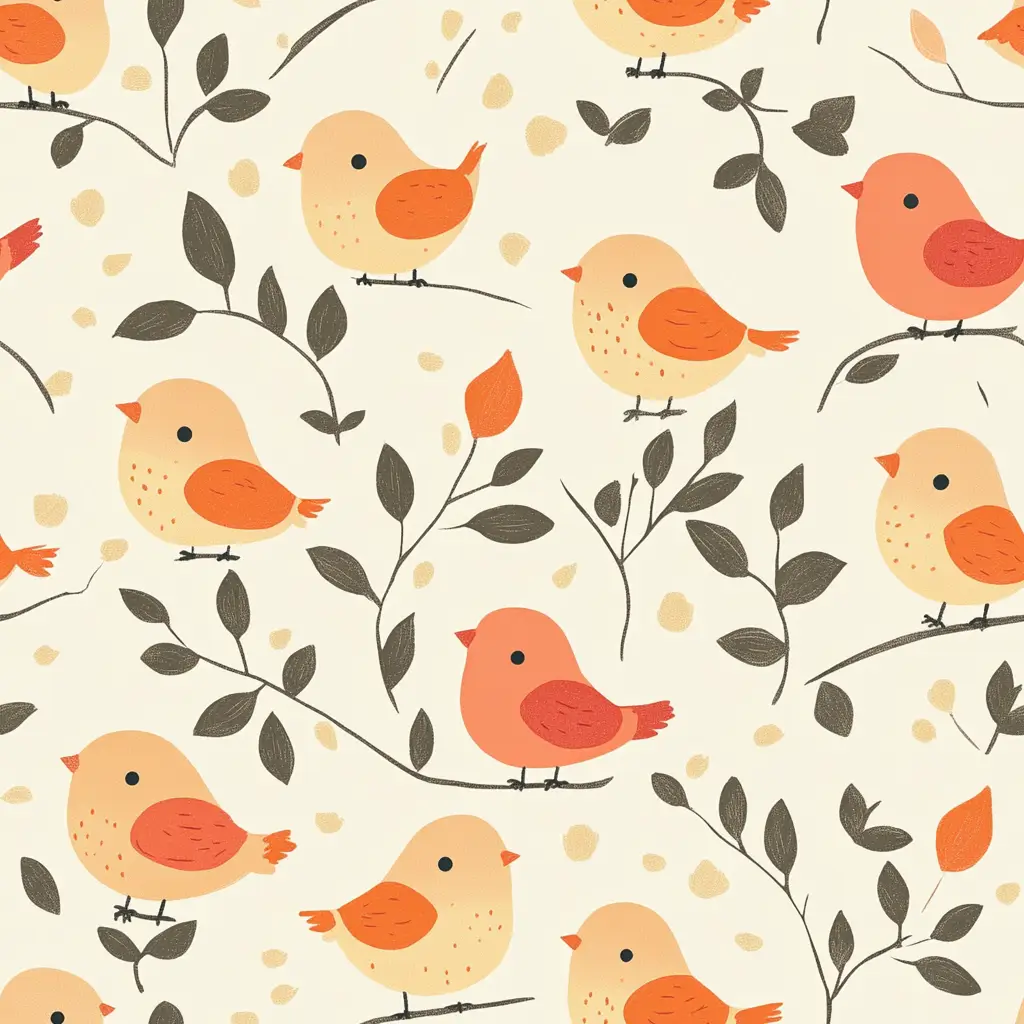
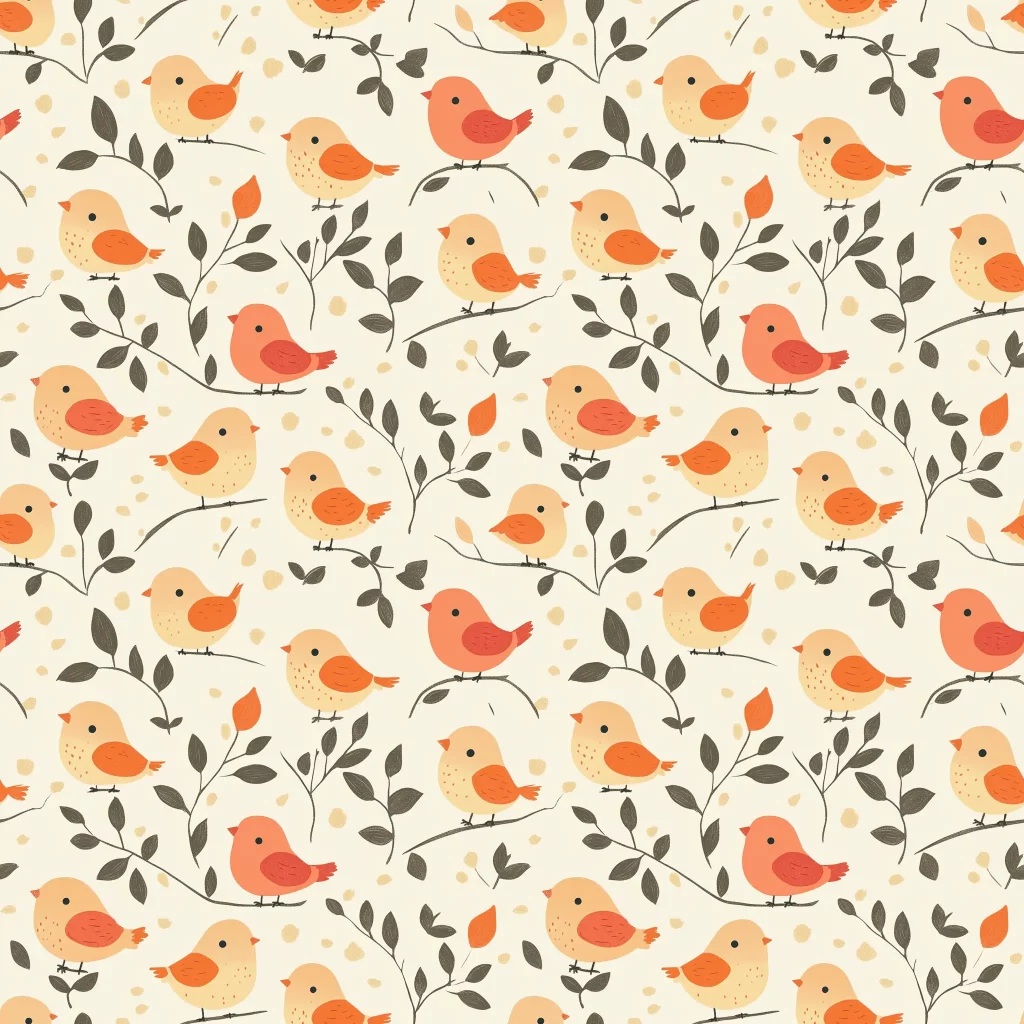
Cute Birds Pattern
Prompt: A pattern of cute birds. –tile –v 6.1
The birds came out really charming. It’s amazing how the AI captured their personalities.
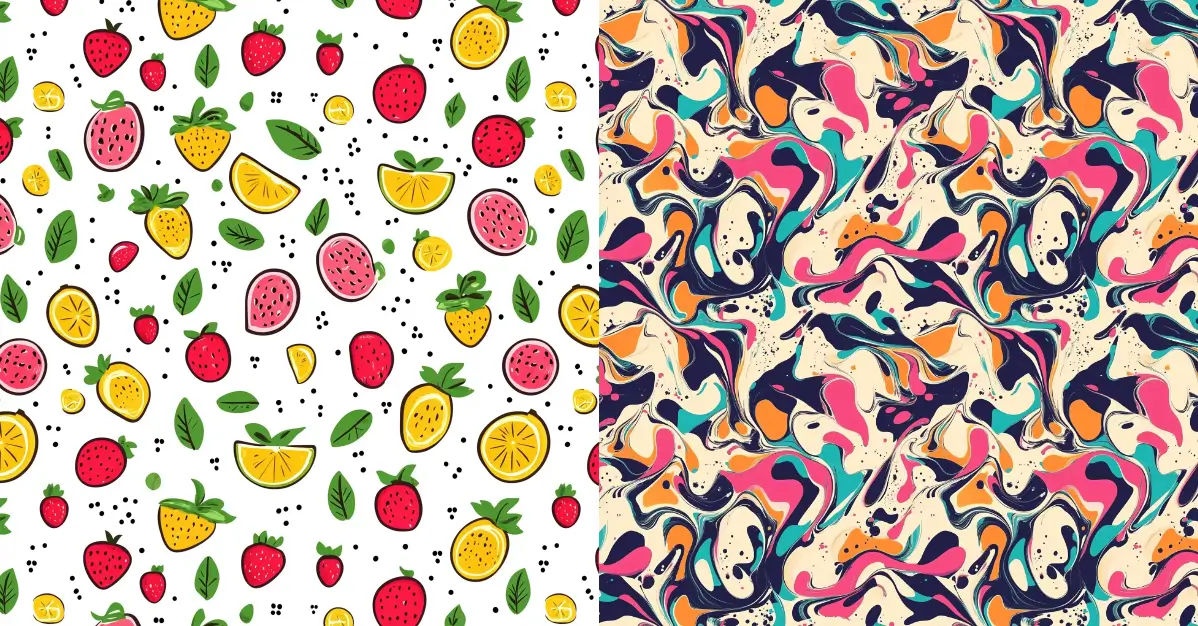
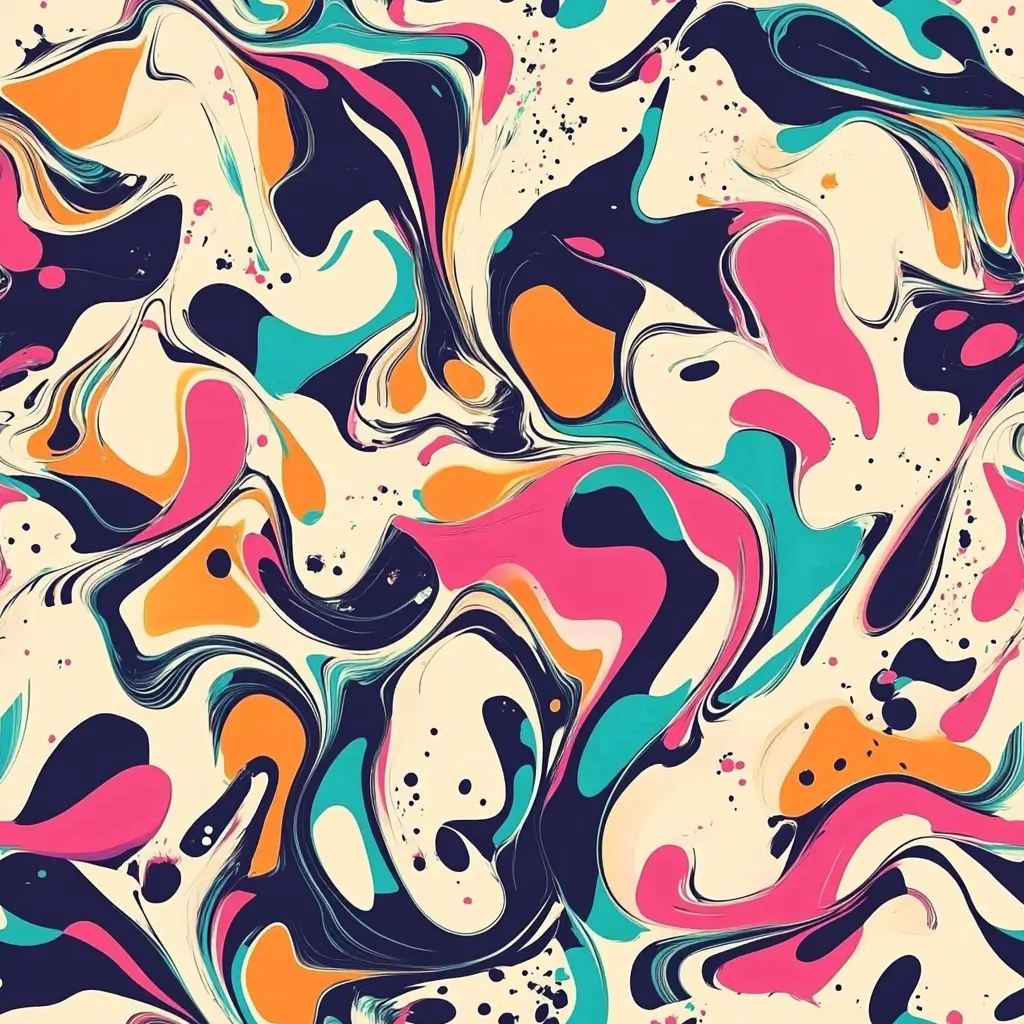
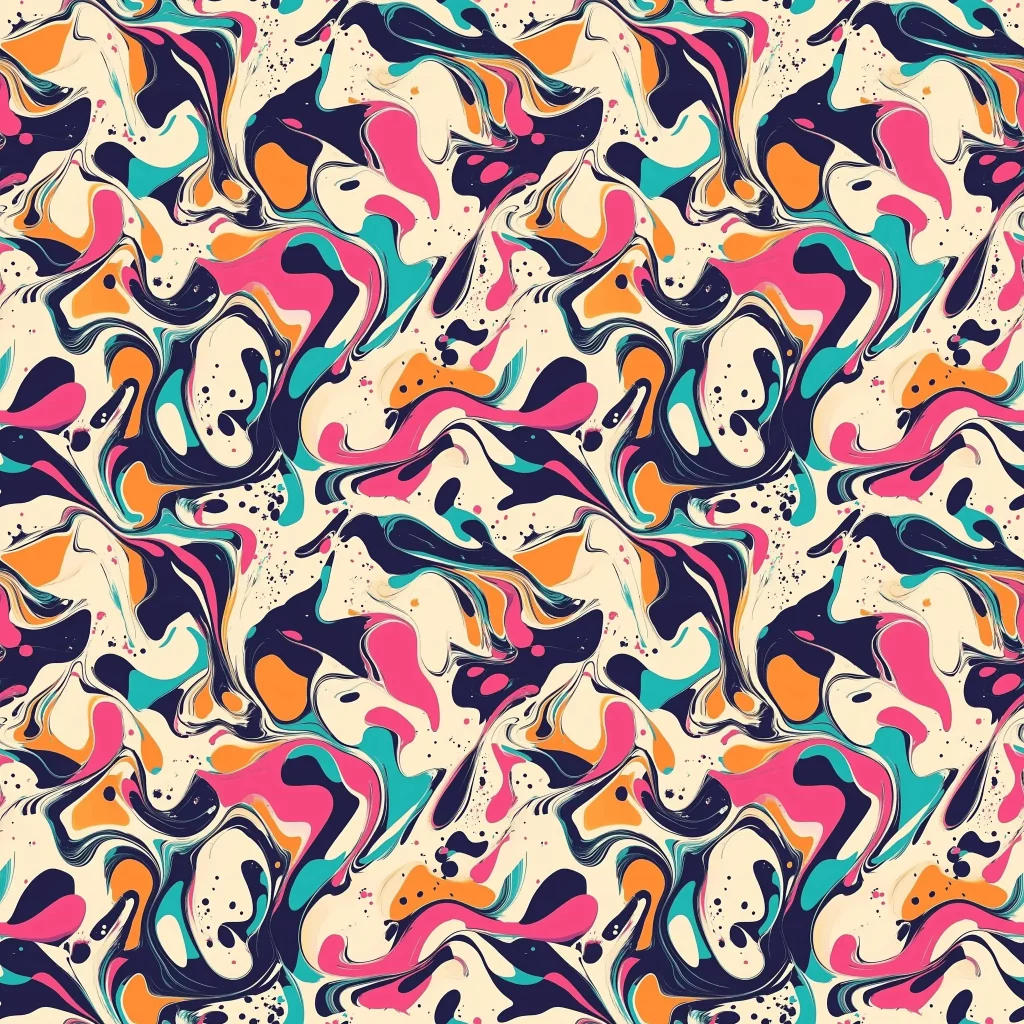
Abstract Pattern
Prompt: Beautiful abstract pattern. –tile –v 6.1
This prompt led to some wild shapes and colors. It’s not what I expected, but I like it.
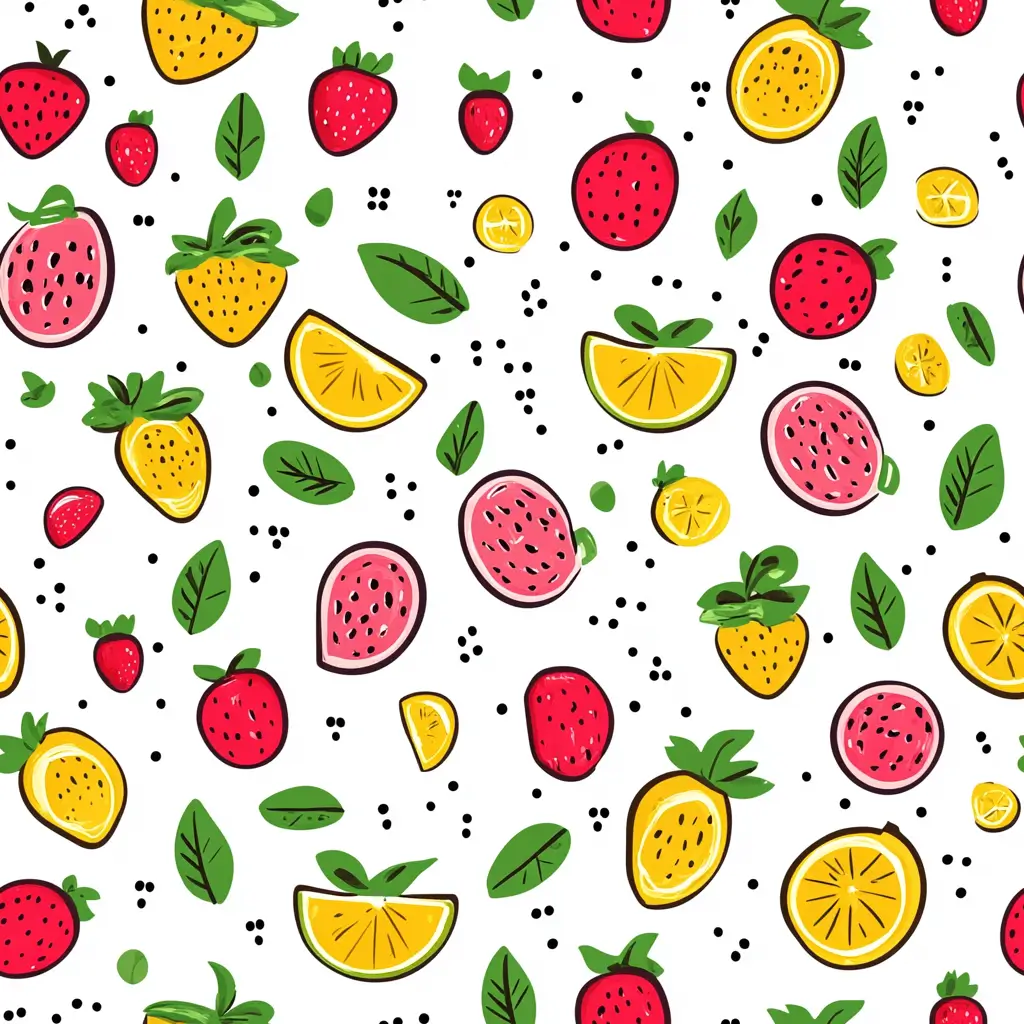
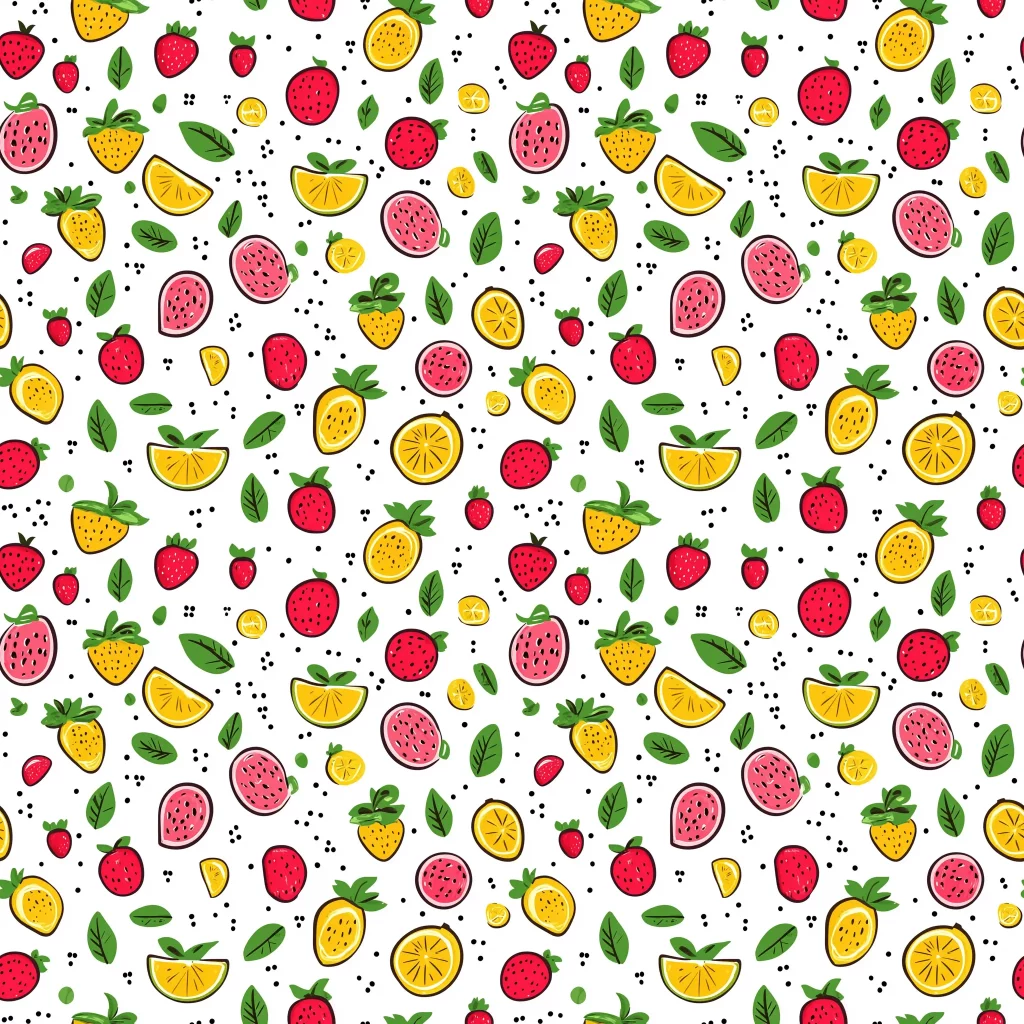
Cute Fruits Pattern
Prompt: A pattern with fruits –tile –v 6.1
The fruits look fresh and lively. It would be great for kitchen decor.
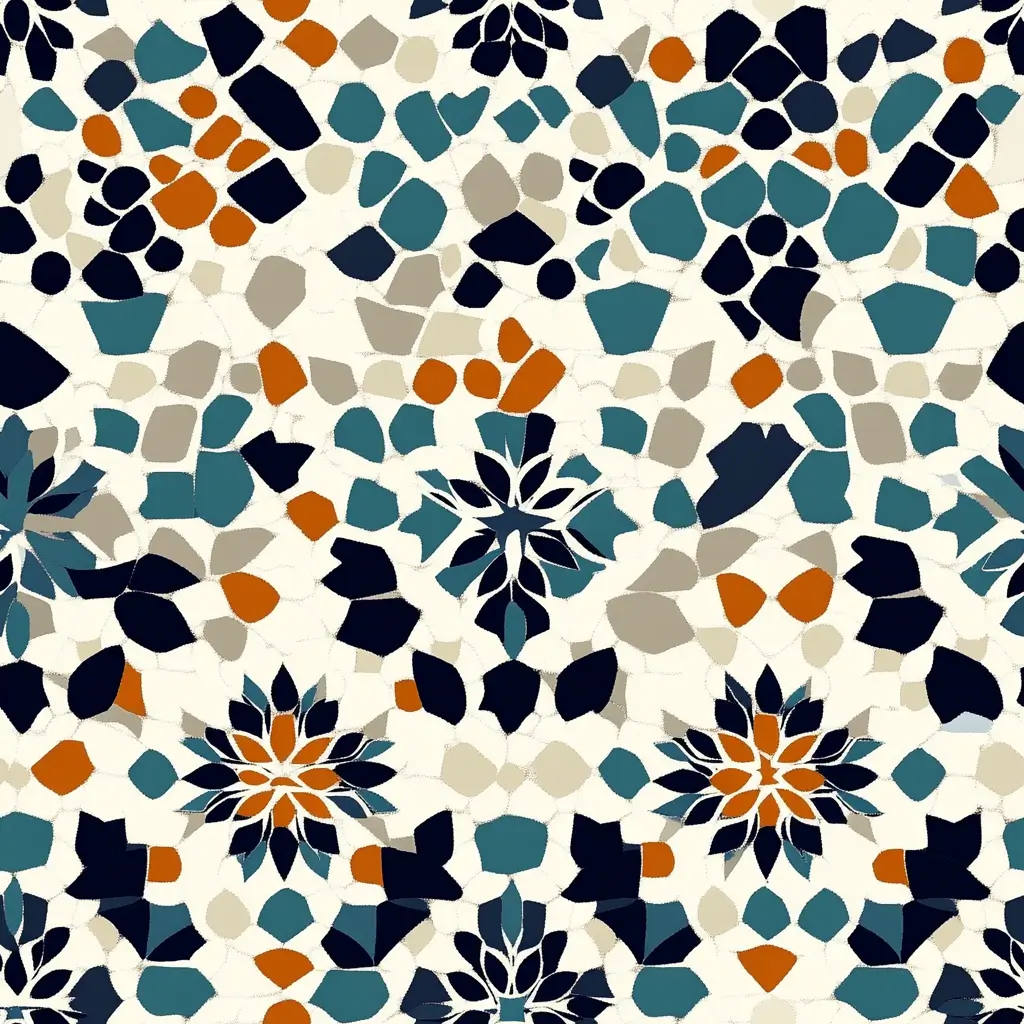
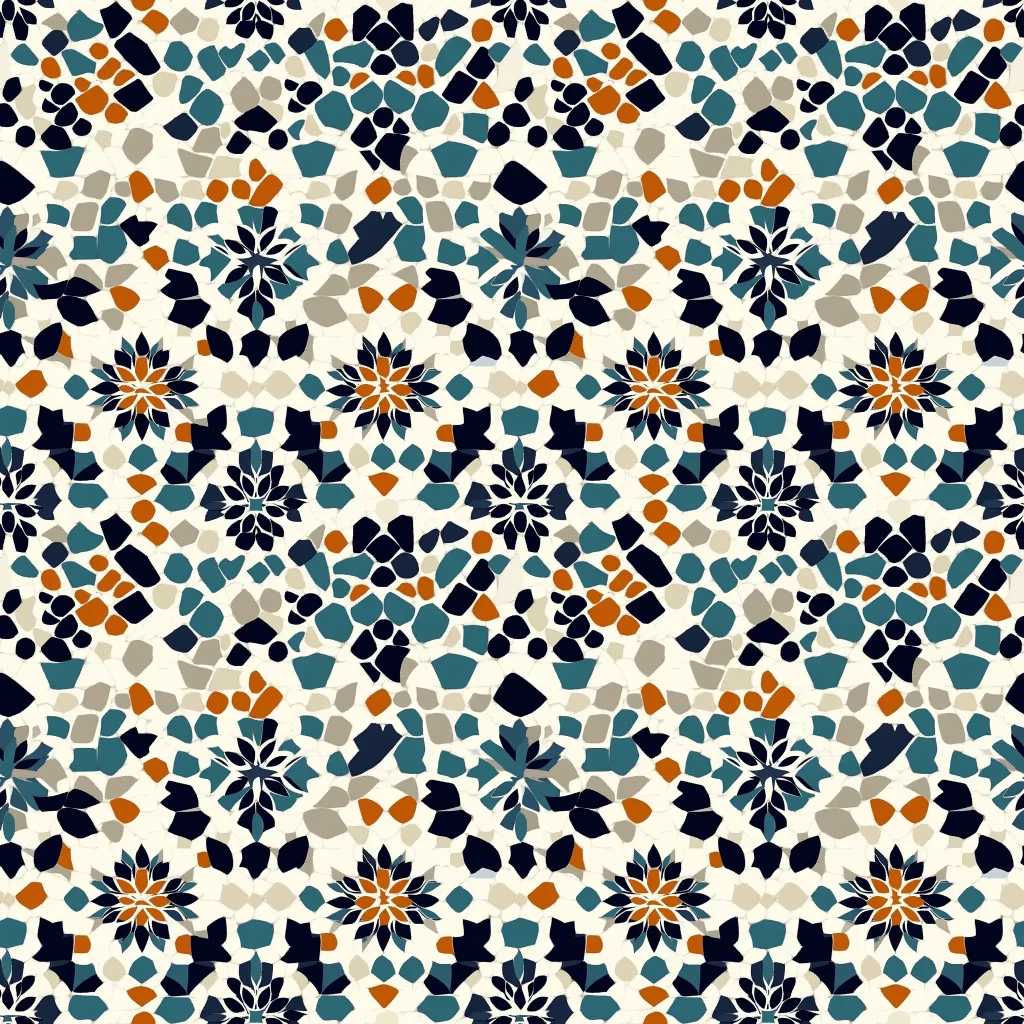
Moroccan Tile Pattern
Prompt: Beautiful Moroccan tile pattern. –tile –v 6.1
The AI did a good job capturing the intricate designs of Moroccan tiles.
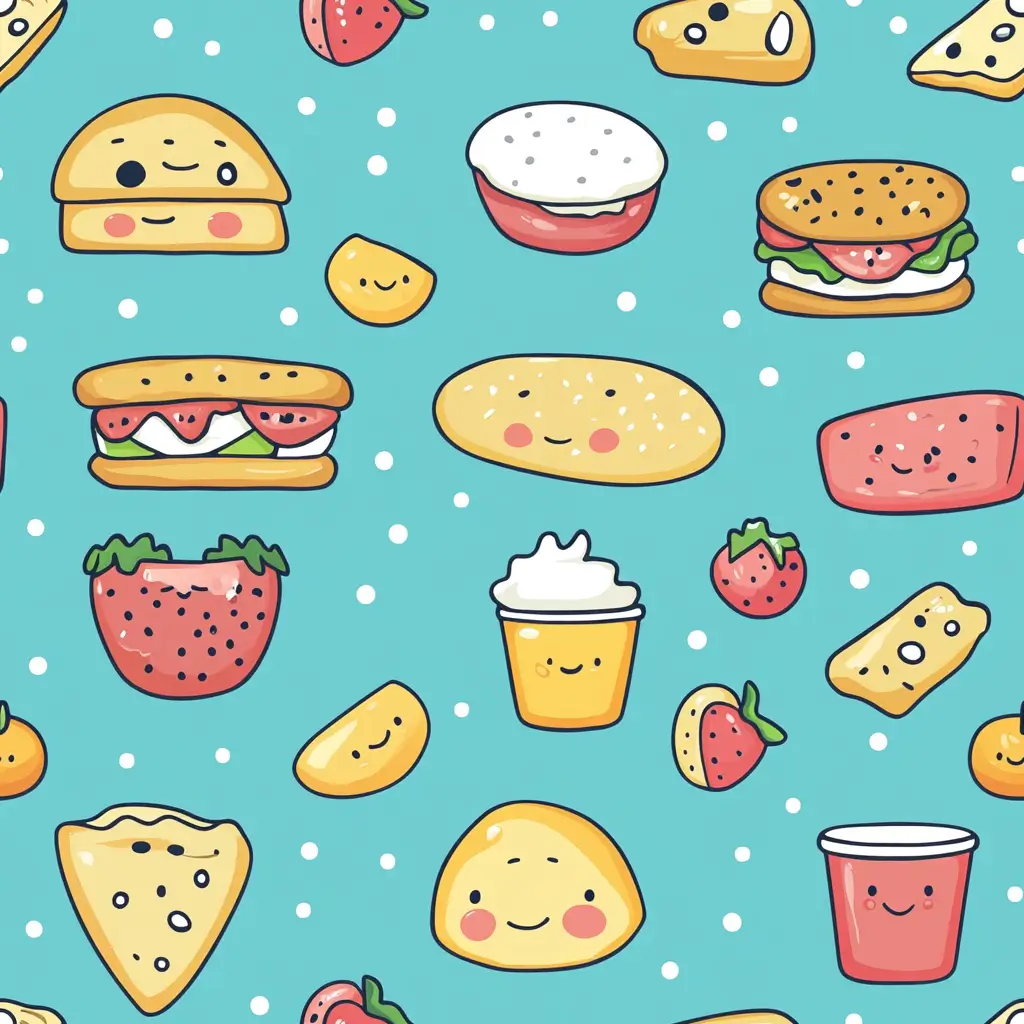
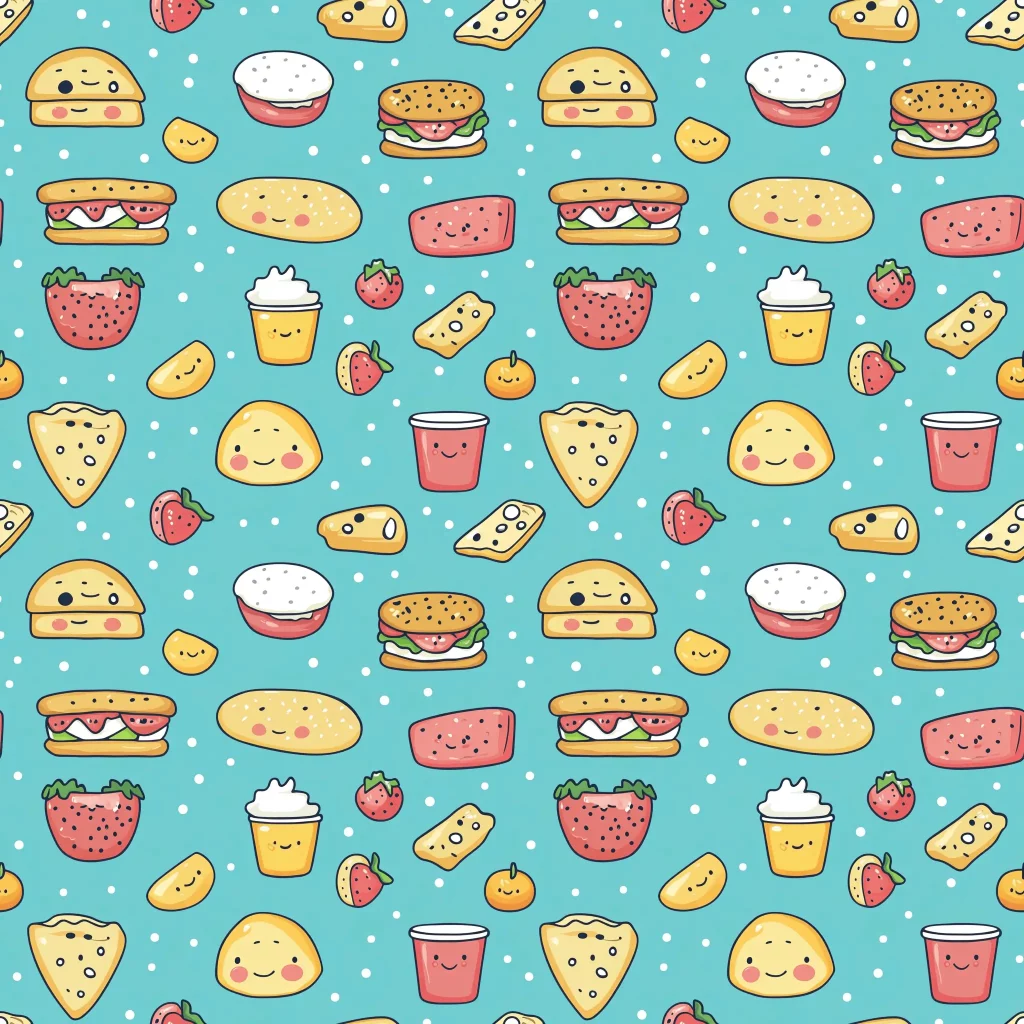
Cute Food Pattern
Prompt: A pattern of cute food items. –tile –v 6.1
This one’s full of tiny, adorable foods. It makes me hungry just looking at it!
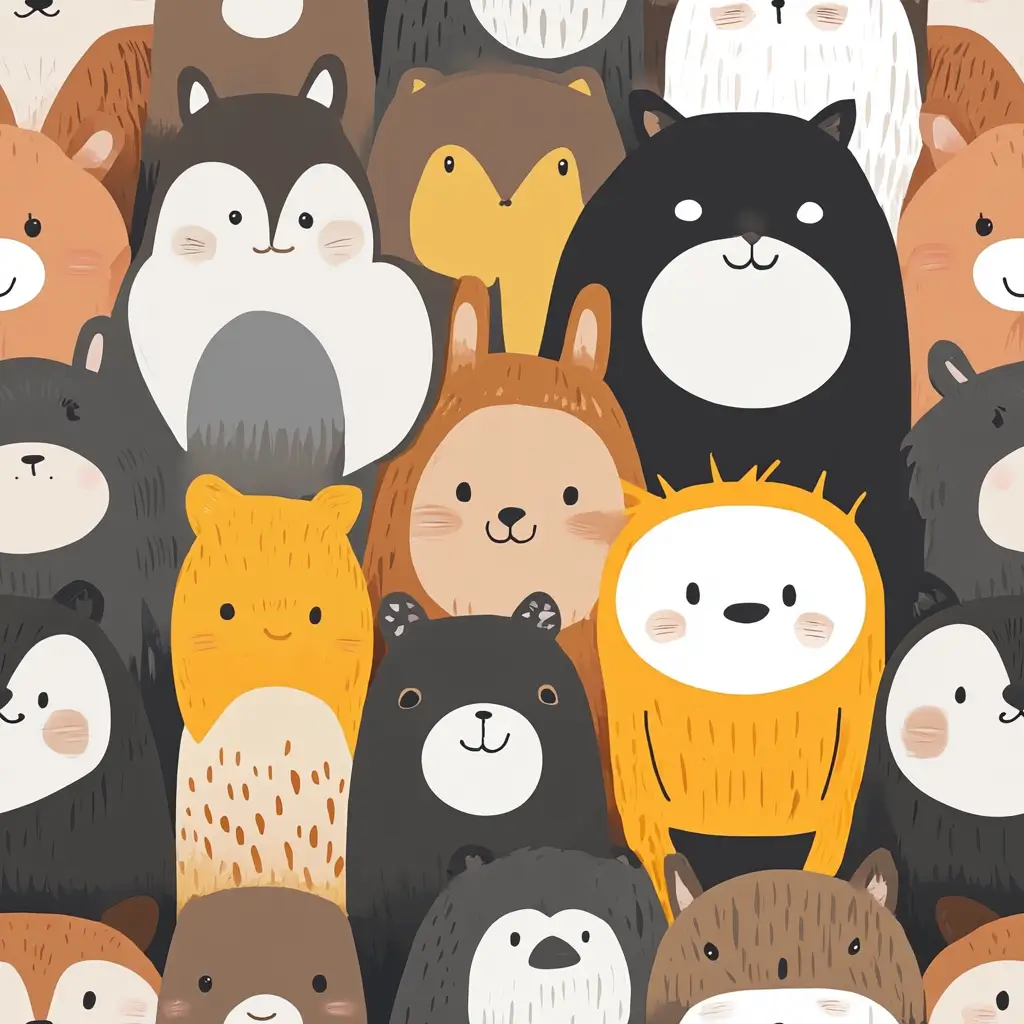
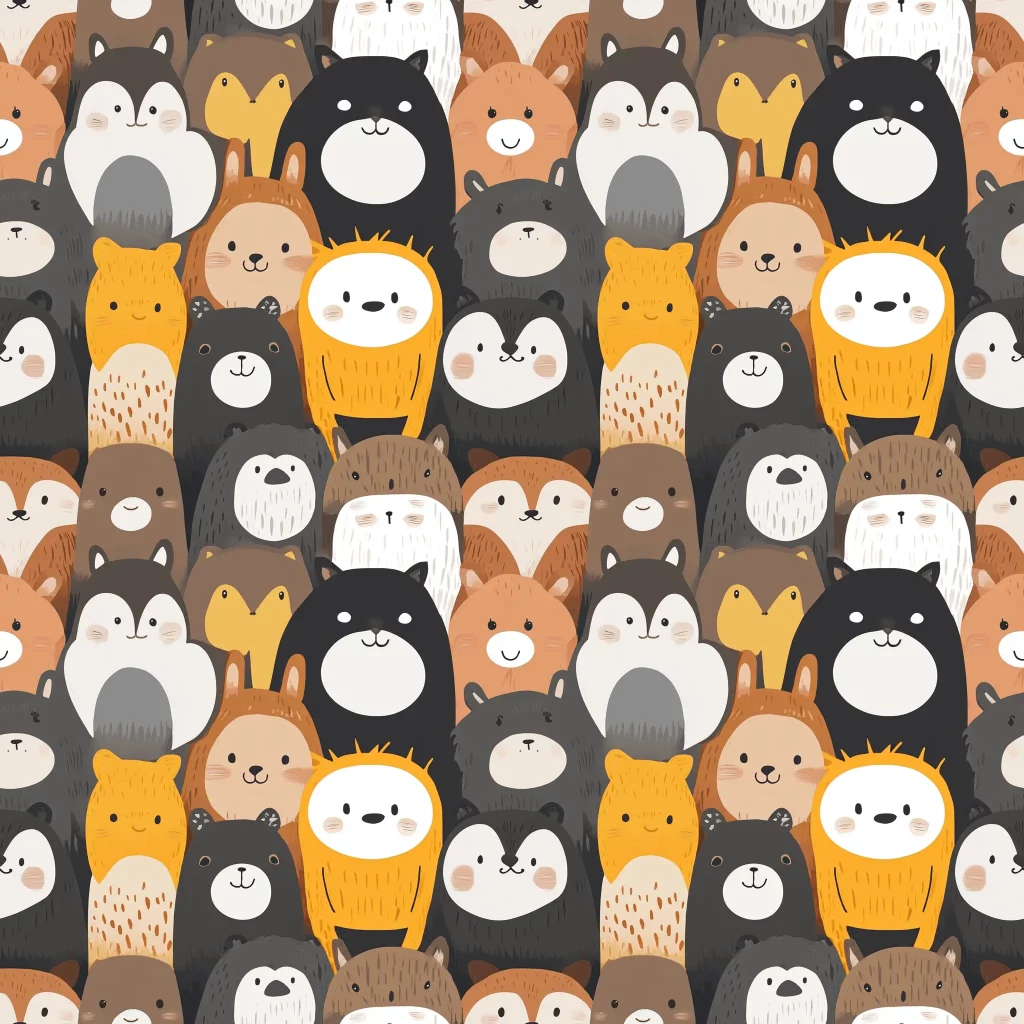
Cute Animals Pattern
Prompt: A group of cute animals –tile –v 6.1
The animals came out super cute. It’s fun to spot all the different creatures.
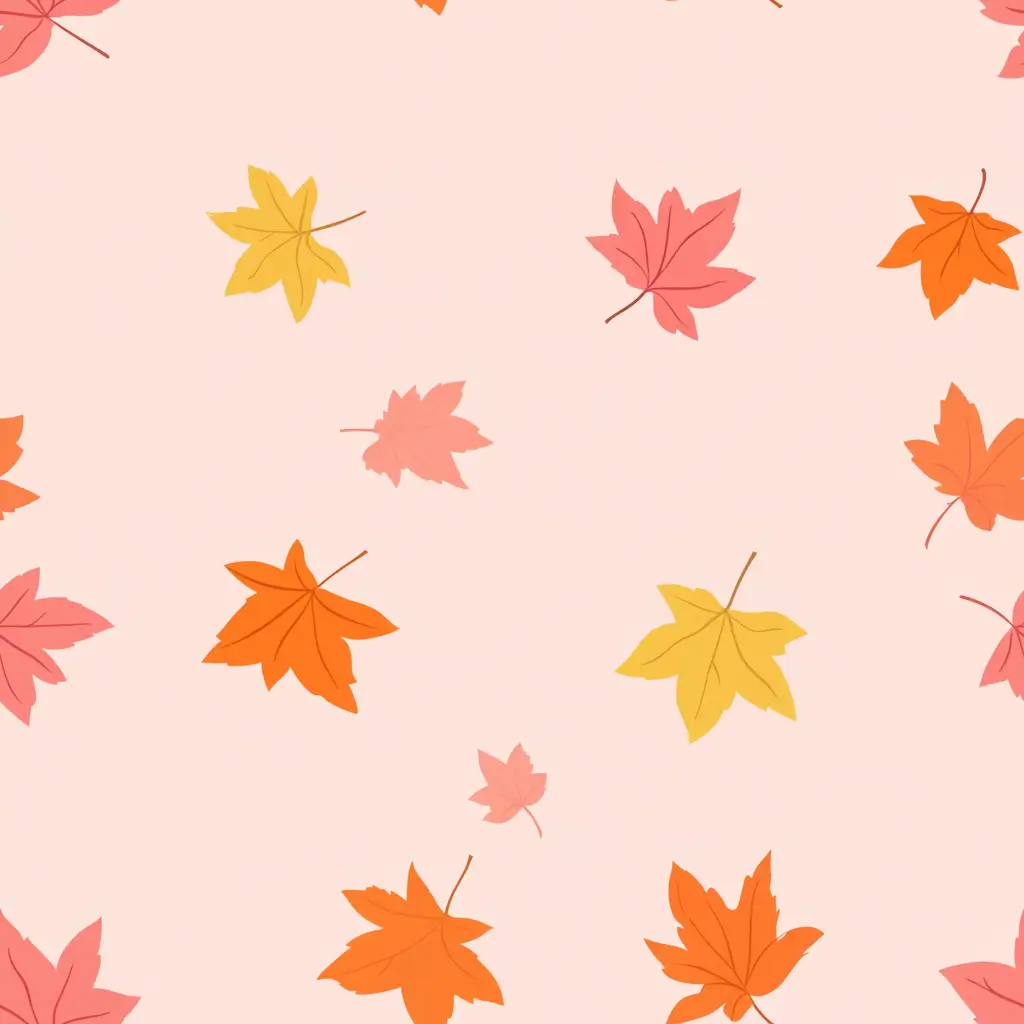
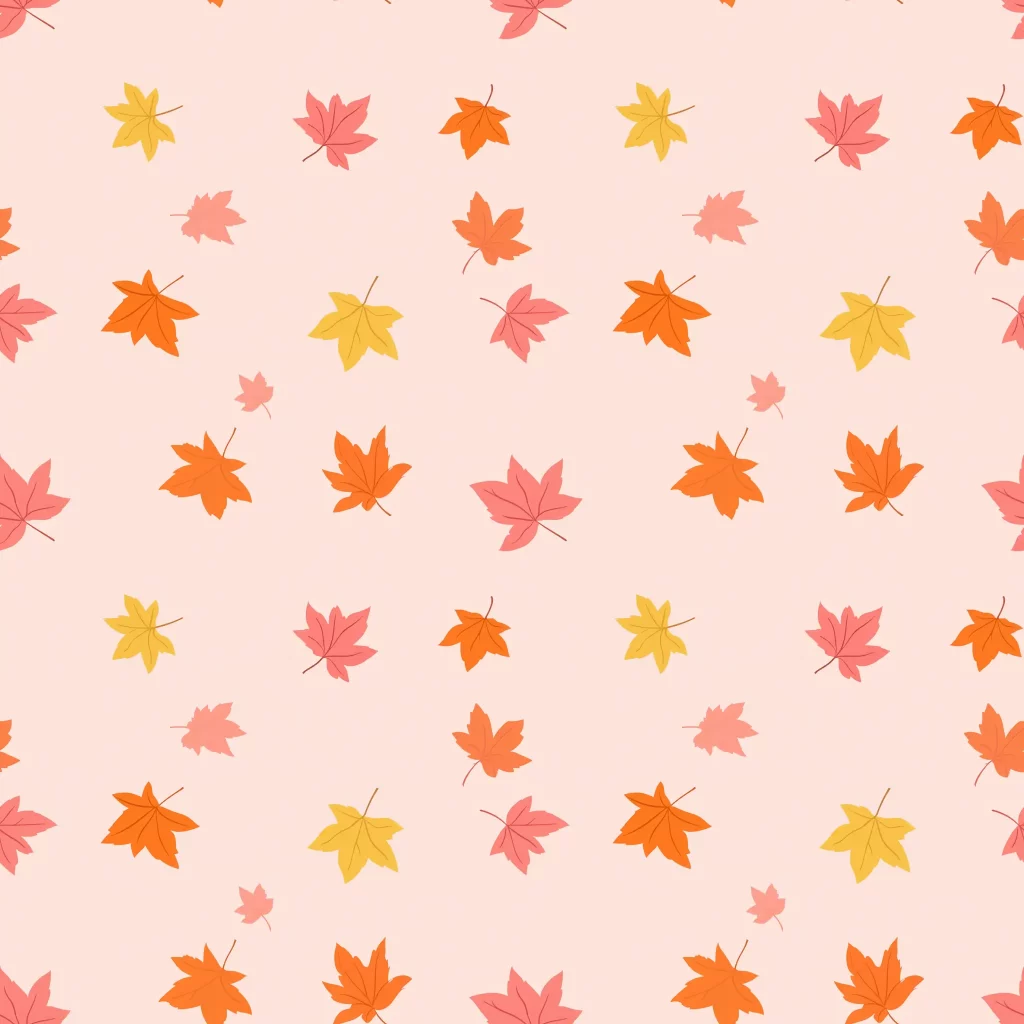
Autumn Leaves Pattern
Prompt: Cute autumn leaves –tile –v 6.1
This pattern has a cozy fall vibe. The colors are warm and inviting.
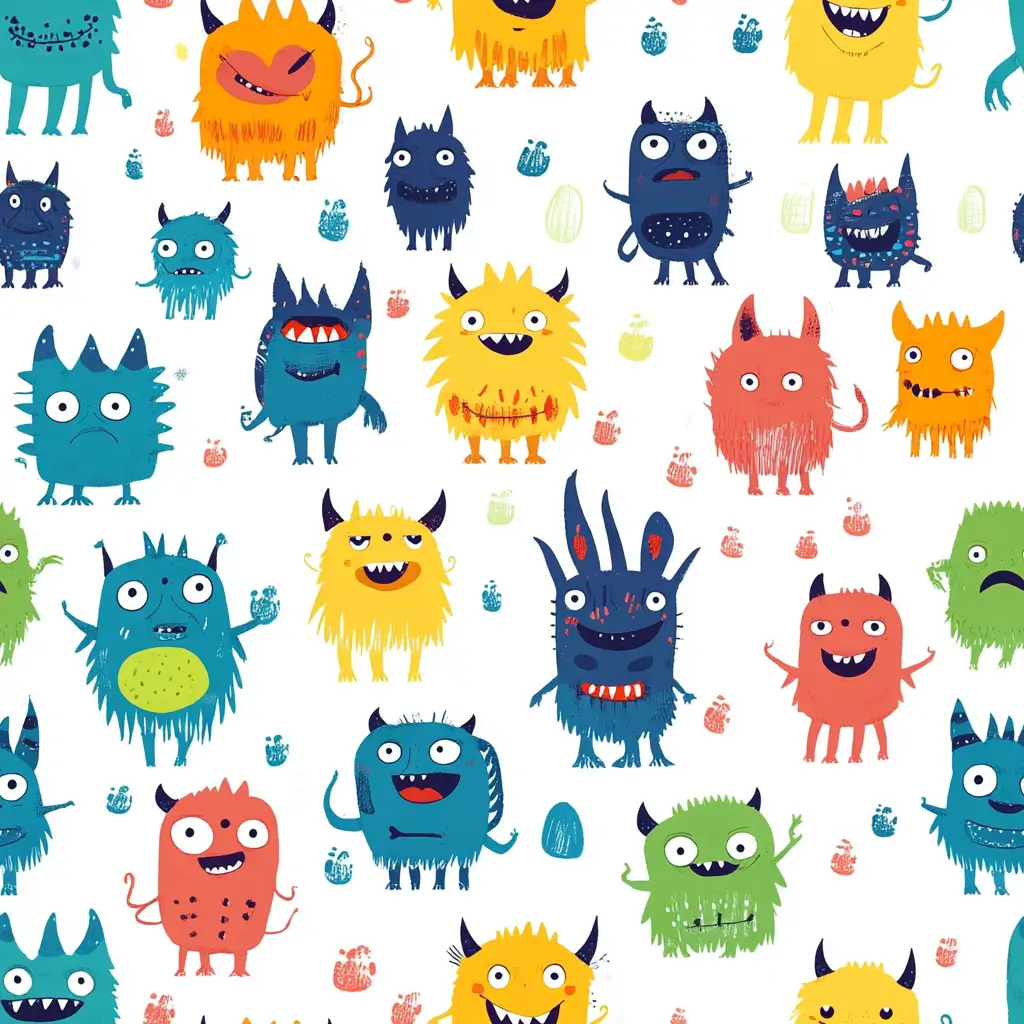
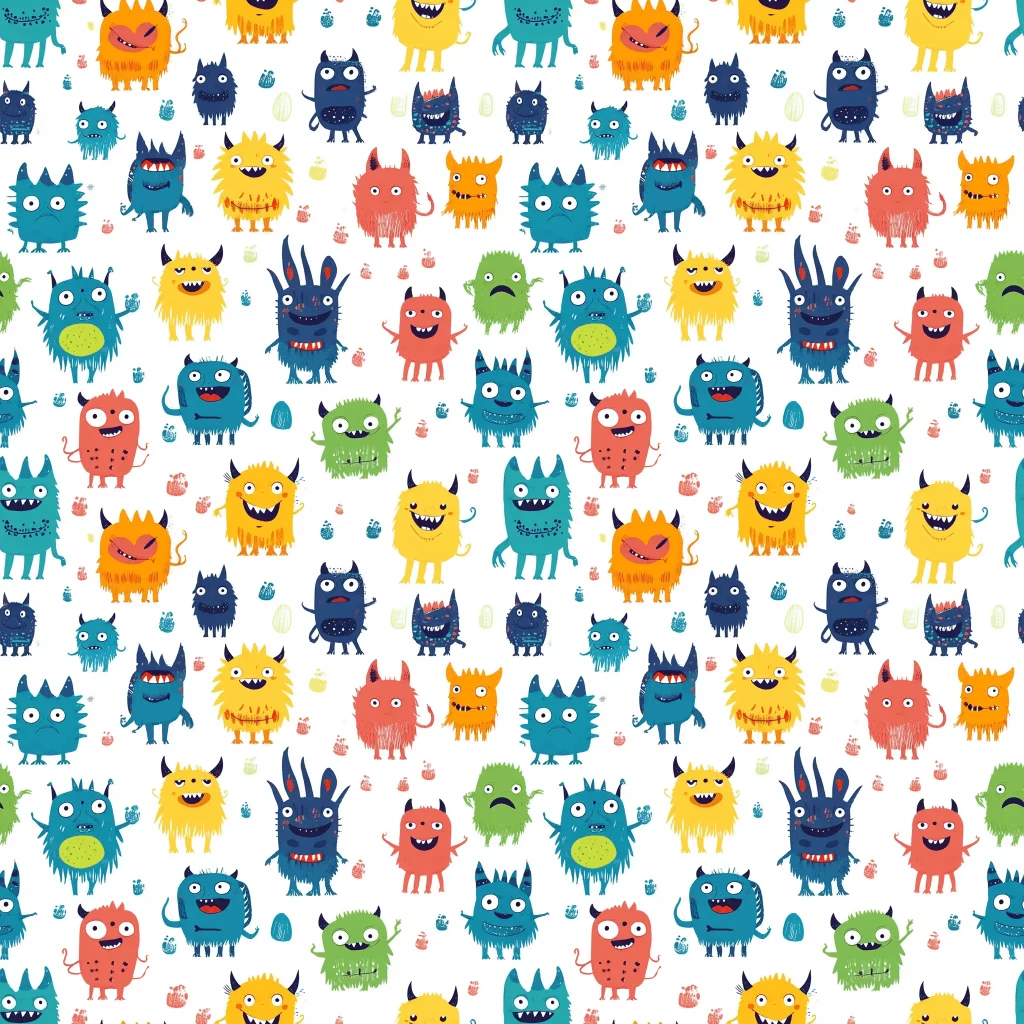
Cute Monsters Pattern
Prompt: A pattern of cute monsters. –tile –v 6.1
These monsters are more adorable than scary. Each one has its own personality.
Geometric Pattern
Prompt: Beautiful geometric pattern. –tile –v 6.1
The AI created some really interesting shapes here. It’s almost hypnotic.
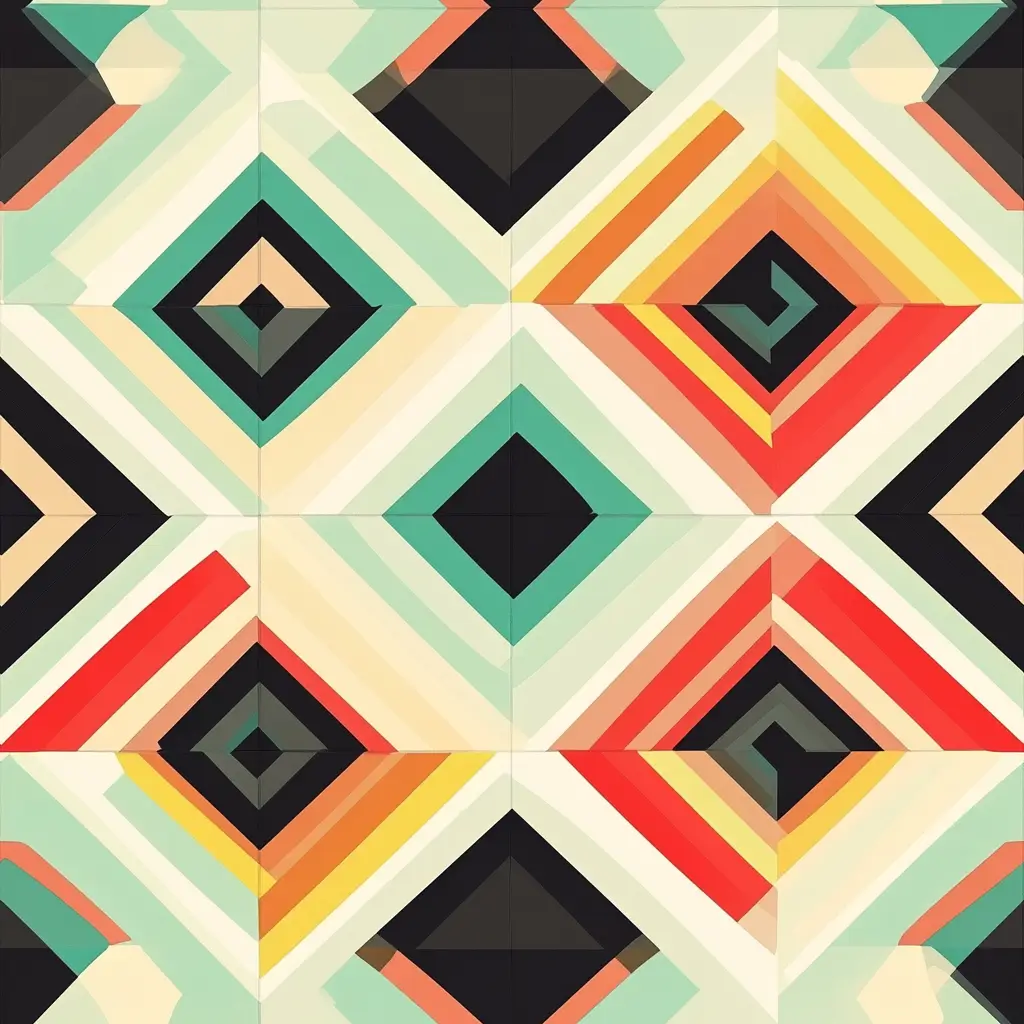
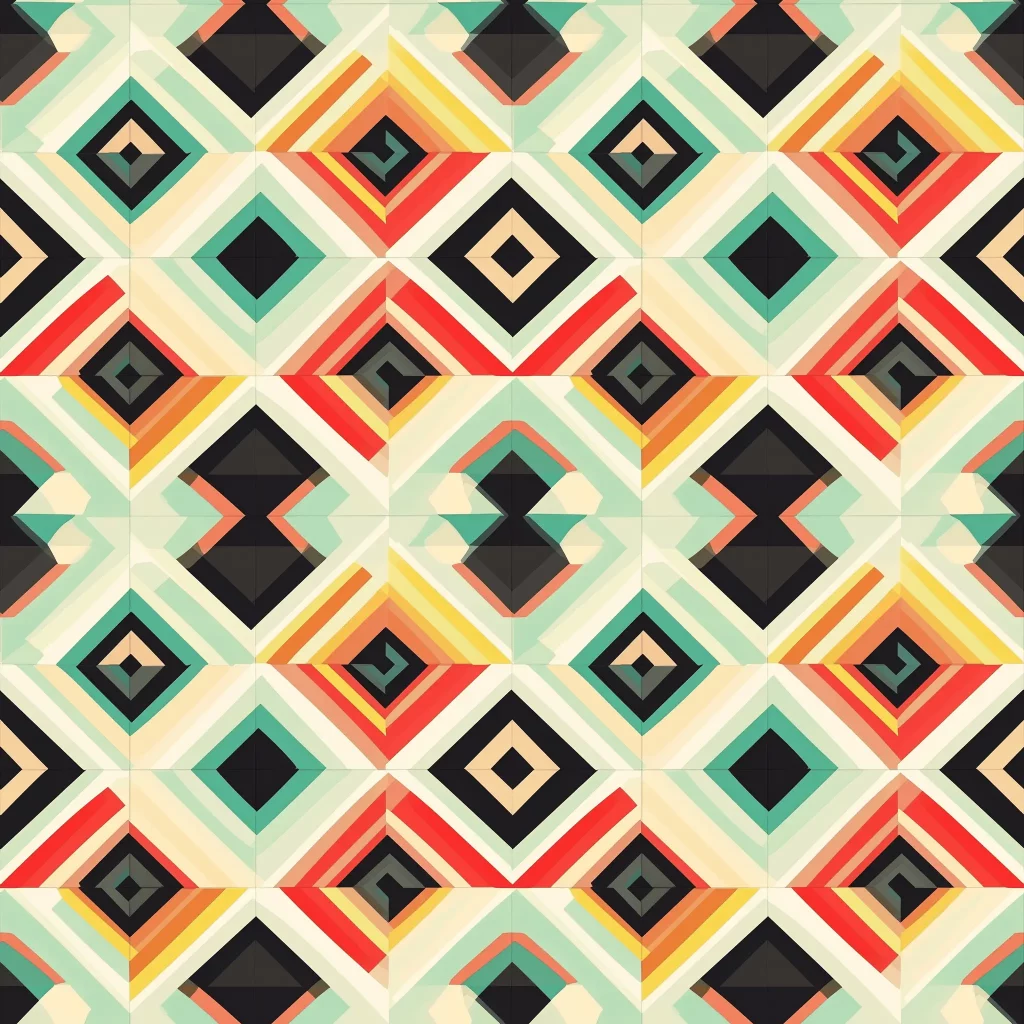
Each of these patterns started as a simple prompt and became something unique. It’s exciting to see what the AI comes up with each time.
That’s how I create seamless patterns using AI. It’s a mix of AI magic and some hands-on tweaking.
At first, I thought AI would do all the work. But I found that combining AI with my own input leads to the best results. The AI generates unique ideas, and I shape them into usable patterns.
This method has sped up my design process a lot. I can now create patterns much faster than before, and I often end up with ideas I wouldn’t have thought of on my own.
If you decide to try this out, don’t worry if your first attempts aren’t perfect. It took me some practice to get the hang of writing good prompts and turning the tiles into patterns I liked. Keep at it, and you’ll improve quickly.
I hope this guide helps you create some cool patterns of your own. Have fun with it, and don’t be afraid to experiment. You might be surprised by what you come up with!
