How to Create T-Shirt Designs Using AI
I wanted to create a custom T-shirt design, and I thought using AI would make it a breeze. Spoiler alert: it wasn’t as straightforward as I expected. But don’t worry, I’ve got you covered.
This blog post is all about my experience creating T-shirt designs with AI, and I’m sharing everything I learned along the way.
When I first started, I was a bit overwhelmed by all the options out there. But after some trial and error, I found a process that works well. It involves four main steps: generating the design, removing the background, cleaning it up, and making sure it’s high-quality enough for printing.
Stick with me, and I’ll walk you through each step. I’ll also introduce you to some handy AI tools that made my life easier. I think you’ll find some useful tips here. Let’s jump right in!
4 Step Process for Creating High-Quality T-Shirt Designs
Let’s break down the process I use to create T-shirt designs using AI. It’s not just about generating an image and slapping it on a shirt. To get a design that looks professional and prints well, I follow these four steps.
Step 1: Generate the Design
I begin by using AI image generation tools like Midjourney. The magic here is in crafting the right prompt. It took me a while to get the hang of it, but here are some tips I’ve learned:
- Be specific about the style you want (e.g., “minimalist”, “vintage”, “abstract”)
- Mention “T-shirt design” in your prompt to help the AI understand the context
- Include color preferences if you have any
- Specify if you want text included (though some tools handle this better than others)
For example, I might use a prompt like: “Minimalist mountain landscape, suitable for T-shirt design, using only black and white lines”
It usually takes a few tries to get something I’m happy with, but that’s part of the fun!
Step 2: Remove the Background
Once I have a design I like, the next challenge is the background. Most AI tools create images with backgrounds, which isn’t ideal for T-shirts. Here’s what I do:
- I open the image in Canva (For this you need the paid version). You can use any background image removal tool for this task.
- I use their background remover tool, which is pretty accurate
- If needed, I manually touch up any areas the tool missed
This step is crucial because it gives me a clean design that will look good on any color T-shirt.
Step 3: Clean It Up
Even after removing the background, there are often little imperfections in the image. This step is all about attention to detail:
- I open the image in Photoshop (or Photopea, which is free and works in your browser)
- I zoom in – way in – and look for any rough edges or stray pixels
- Using the eraser tool, I clean up these imperfections
- I might also adjust the contrast or sharpness to make the design pop
This step takes some time, but it’s worth it. The difference between a good design and a great one often comes down to these small details.
Step 4: Upscale the Image
Print-on-demand sites usually need high-resolution designs – often 300 DPI or higher. The AI-generated images are often too small for this, so upscaling is necessary. Here’s my approach:
- I use free AI upscale tool Upscayl.
- I aim for a final image size of at least 4500×5400 pixels for a full front T-shirt design
- After upscaling, I check the image quality again and make any final tweaks
Alternative to Step 4: Vectorize
For simple, flat designs, vectorizing can be a great alternative to upscaling. Here’s why I sometimes choose this route:
- Vector images can be scaled to any size without losing quality
- They often print more cleanly, especially for designs with sharp edges
- Some print-on-demand services prefer vector files
I use tools like vectorizer.ai for this. It’s not perfect for every design, but for the right type of image, it can produce excellent results.
Each of these steps has improved my designs significantly. In the next section, I’ll share some specific AI tools I’ve found helpful for this process. Each one has its strengths, so you might end up using a combination depending on your needs.
Helpful AI Tools for T-Shirt Design
In my quest to create awesome T-shirt designs, I’ve tried quite a few AI tools. Here are the ones that have really stood out for me, starting with my go-to for generating initial designs:
Midjourney
Midjourney has become my favorite tool for creating eye-catching images, especially when I want designs without text. Here’s why I love it:
- Image Quality: Midjourney consistently produces high-quality, visually appealing images. The level of detail it can generate is impressive.
- Style Versatility: Whether I want something photorealistic or completely abstract, Midjourney can handle it. It’s great at interpreting artistic styles too.
- Prompt Flexibility: Once you get the hang of it, you can create very specific designs by tweaking your prompts.
However, Midjourney isn’t perfect. Its main drawback for T-shirt design is its struggle with text. If I need text in my design, I usually have to add it separately later.
Here’s an example of how I use Midjourney:
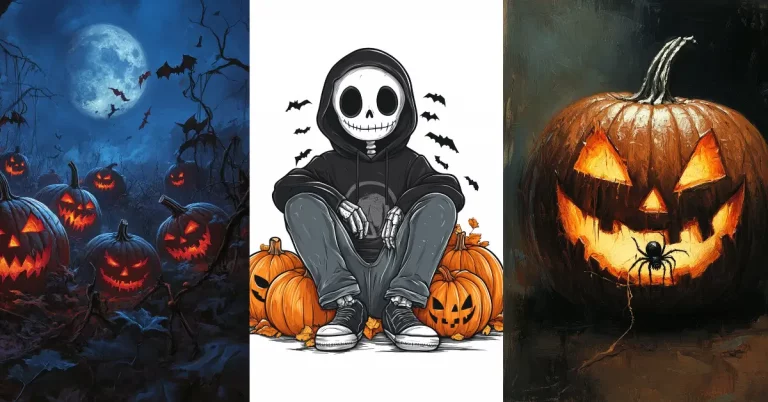
Let’s say I want to create a spooky Halloween design. I might use this prompt:
“Spooky halloween pumpkin with thick black outline, t-shirt design, white background”
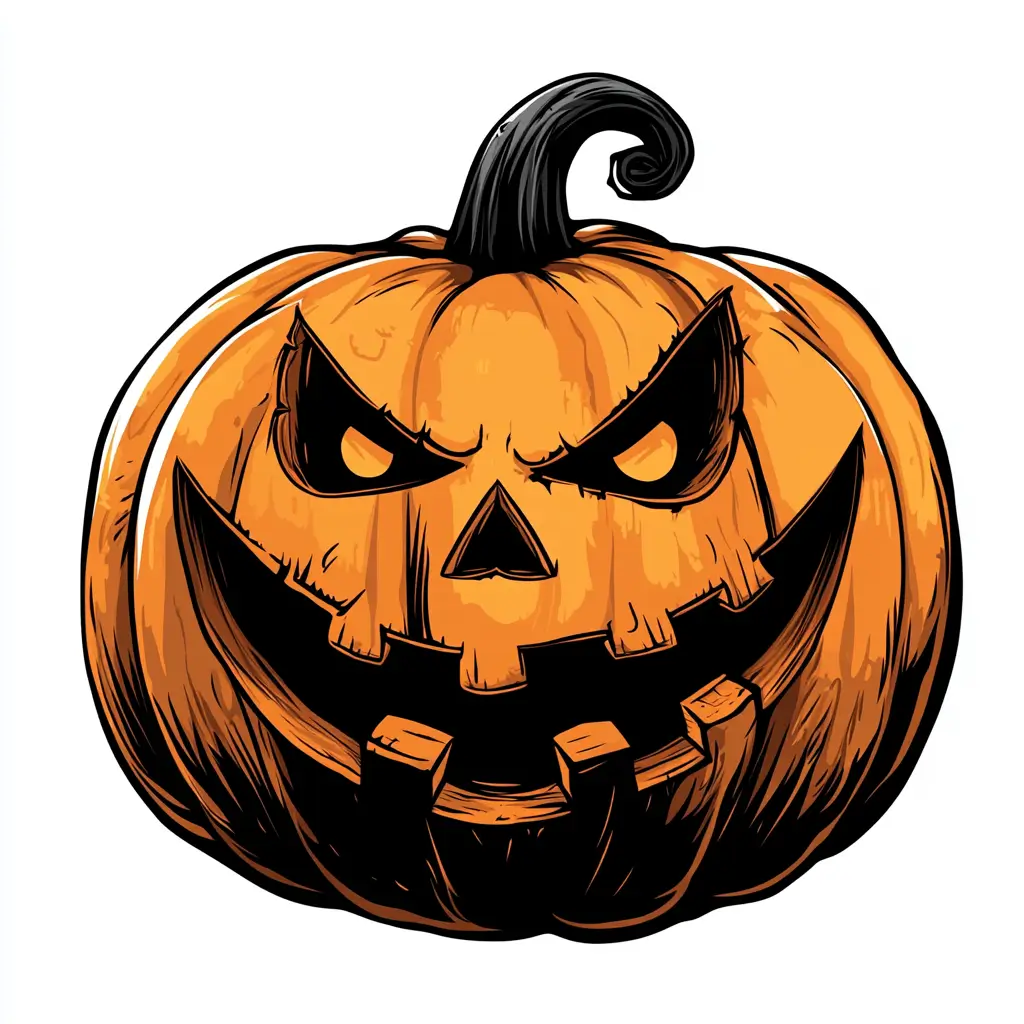
I included “thick black outline” and “white background” in the prompt because it makes it easier to remove the background later. The AI doesn’t always follow these instructions perfectly, but it gives me a good starting point.
After a few tries, Midjourney usually gives me something I can work with. From there, I move on to the next steps in my process.
Despite its limitations with text, Midjourney remains my top choice for creating the visual elements of my T-shirt designs. Its ability to generate unique, high-quality images consistently makes it an invaluable tool in my design toolkit.
Ideogram
While Midjourney is great for images, Ideogram has become my go-to tool when I need designs that combine both images and text. Here’s why I find it so useful:
- Text Handling: Ideogram is much better at generating text as part of the design. The text it produces is usually clear and readable, with fewer mistakes than other AI tools I’ve tried.
- Style Integration: It does a good job of integrating the text with the image, creating cohesive designs where the text feels like part of the overall artwork.
- User-Friendly Interface: The website is straightforward to use. I just go to ideogram.ai, type in my prompt, select “design” from the bottom menu, and I’m ready to go.
Here’s an example of how I use Ideogram:
Let’s say I want to create a Halloween T-shirt with both an image and text. I might use a prompt like this:
“A Spooky T-shirt design with text ‘Happy Halloween'”
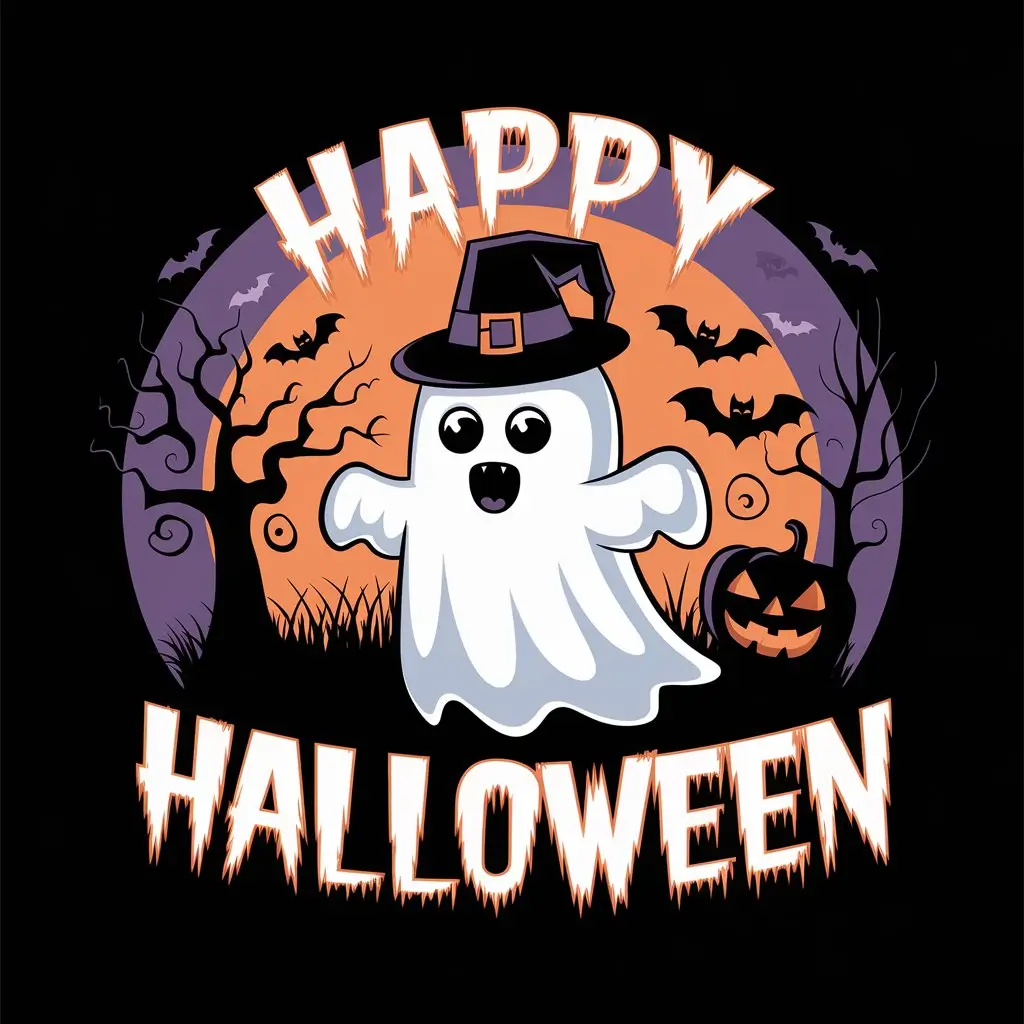
With this prompt, Ideogram typically creates a design featuring a spooky element along with the “Happy Halloween” text. The text is usually well-integrated into the design, not just slapped on top.
One thing I’ve noticed is that Ideogram seems to understand the concept of T-shirt design better than some other AI tools.
However, Ideogram isn’t perfect. Sometimes the designs can feel a bit generic, and it might take a few tries to get something truly unique. Also, while it’s better with text than Midjourney, it still occasionally makes mistakes, especially with longer phrases.
Despite these minor issues, I find Ideogram incredibly helpful when I need designs that incorporate text. It saves me the step of having to add text separately, which can be tricky to do in a way that looks natural and integrated with the design.
Kittl
Kittl is a bit different from Midjourney and Ideogram. It’s more like a supercharged version of Canva, but with a special focus on print-on-demand designs.

Here’s why I’ve come to love it:
- All-in-One Solution: Kittl combines design templates, AI features, and editing tools all in one place. This means I can often create a complete T-shirt design without jumping between different apps.
- Templates and Elements: It offers tons of pre-made templates and design elements. This is great when I want to start with something and then customize it to make it my own.
- AI Features: Kittl has a bunch of AI tools built right in. These include AI image generation, AI background remover, AI image upscaler, AI vectorizer, AI vector generator, AI logo generator, AI quote generator etc. Having all these in one place is a real time-saver.
- Print-on-Demand Focus: Many of Kittl’s features are specifically designed for creating merchandise designs. This means the templates and tools are already optimized for T-shirts and other products.
Here’s how I typically use Kittl:
- I start by browsing their T-shirt templates for inspiration.
- I choose a template I like and customize it using their design tools.
- If I need a specific image, I use their AI image generator.
- I use their AI tools to refine the design – removing backgrounds, upscaling images, or vectorizing if needed.
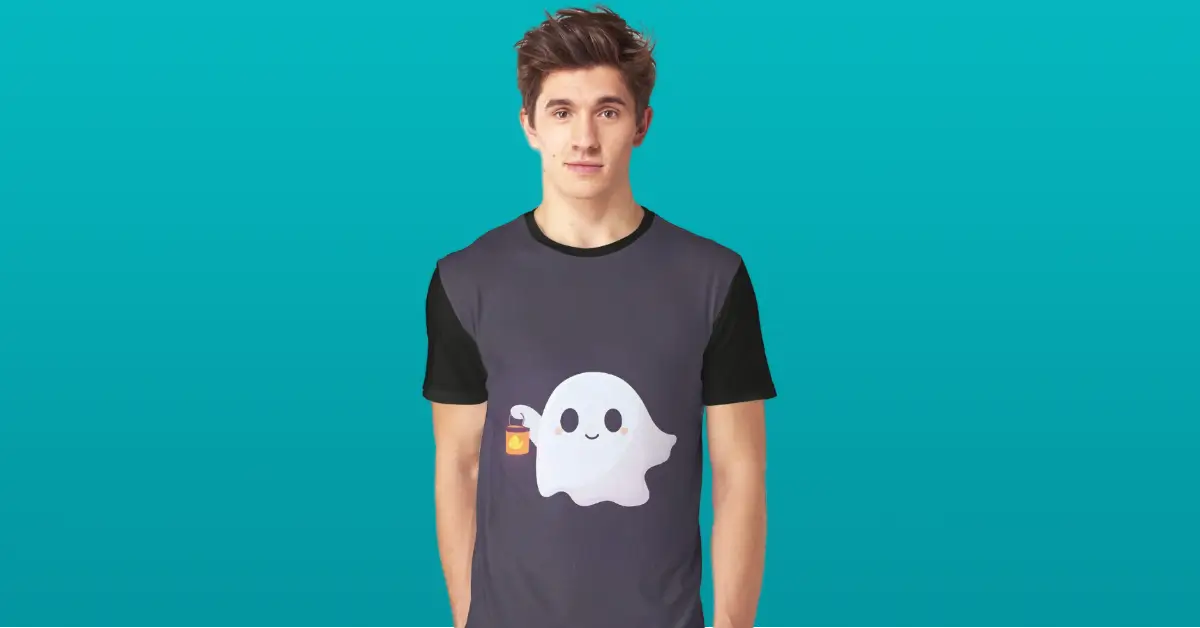
- Finally, I use their mockup generator to see how the design looks on an actual T-shirt.
For me, Kittl has become my go-to when I want to create a design quickly and efficiently. It’s especially useful when I’m not looking for something totally unique, but rather want to put my own spin on existing design elements.
While it may not replace Midjourney or Ideogram for creating totally original artwork, Kittl’s combination of AI tools and design elements makes it a powerful addition to my T-shirt design toolkit.
Creating T-shirt designs with AI has been a game-changer for me. It’s opened up a world of possibilities, allowing me to bring ideas to life that I couldn’t have imagined before. While it’s not always a smooth ride, the process I’ve shared here has helped me create designs I’m truly proud of.
These tools are just that – tools. The real magic happens when you combine them with your own creativity and vision. Don’t be afraid to experiment, mix and match different tools, and put your unique spin on things.
AI might be doing some of the heavy lifting, but at the end of the day, you’re the real designer. So go ahead, give it a try, and see what awesome designs you can create!