How to Create Passport Size Photo Using Gemini
Passport photos have pretty specific requirements. You need a clear, professional-looking picture with a plain background, proper lighting, and a neutral expression. The face has to be centered, well-lit, and meet the exact dimensions your country requires.
Getting a passport photo taken at a studio or printing shop costs money and takes time. You have to book an appointment, travel there, and wait. It’s a hassle for something that seems so simple.
But here’s the thing, you can now create a decent passport photo at home using Google Gemini. No studio visit needed.
Google Gemini’s Nano Banana Image Model
Google’s Gemini has an image generation and editing model that’s surprisingly good at handling photo edits. It can take a regular photo and adjust it to meet specific requirements.
The model understands context pretty well. You can give it detailed instructions about what you want, and it actually listens. Want the background changed? Done. Need better lighting? It can fix that. Want specific clothing suggestions? It’ll try to accommodate.
I’ve tested it a few times, and the results are solid. It’s not perfect every time, but for a passport photo, it does the job well.
How to Create Your Passport Photo
Step 1: Open Gemini
Go to gemini.google.com on your browser, or just open the Gemini app on your phone. Either works fine.
Step 2: Start a New Chat
Create a fresh chat. This keeps things clean and organized.
Step 3: Upload Your Photo
Click the attachment button and upload a photo of yourself. Make sure your face is clear, well-lit, and fills most of the frame. A simple selfie or a friend taking the photo both work.
Step 4: Use This Prompt
Copy and paste this prompt into the chat:
Create a professional passport-size photo from the attached image. The person should be wearing a formal dark suit, white shirt, and tie. Keep the facial features identical to the original photo with natural skin tone and lighting. Use a plain light background (white or light gray) as per passport photo standards. Ensure the head is centered and well-lit, with no shadows, no filters, and a neutral expression.
Step 5: Let Gemini Work
Hit send and wait a few seconds. Gemini will process your image and create a passport-ready version.
Break Down the Prompt
Let me explain why each part of that prompt matters:
- “Create a professional passport-size photo” – This tells Gemini exactly what you want. It’s not a casual edit; it’s a specific type of photo.
- “The person should be wearing a formal dark suit, white shirt, and tie” – This sets the dress code. If your original photo shows casual clothing, Gemini will add or adjust this.
- “Keep the facial features identical to the original photo” – This is important. You don’t want Gemini to change how you look. This instruction makes sure it only adjusts the background, lighting, and clothing.
- “Use natural skin tone and lighting” – Nobody wants a washed-out or over-edited face. This keeps things looking real.
- “Plain light background (white or light gray)” – Passport standards require a neutral background. This instruction removes any busy backgrounds.
- “Head is centered and well-lit” – Centering matters for passport photos. Good lighting removes shadows and keeps the image clear.
- “No shadows, no filters, and a neutral expression” – This eliminates distracting elements. Shadows can get you rejected by officials. A neutral expression is the standard for passport photos.
Example
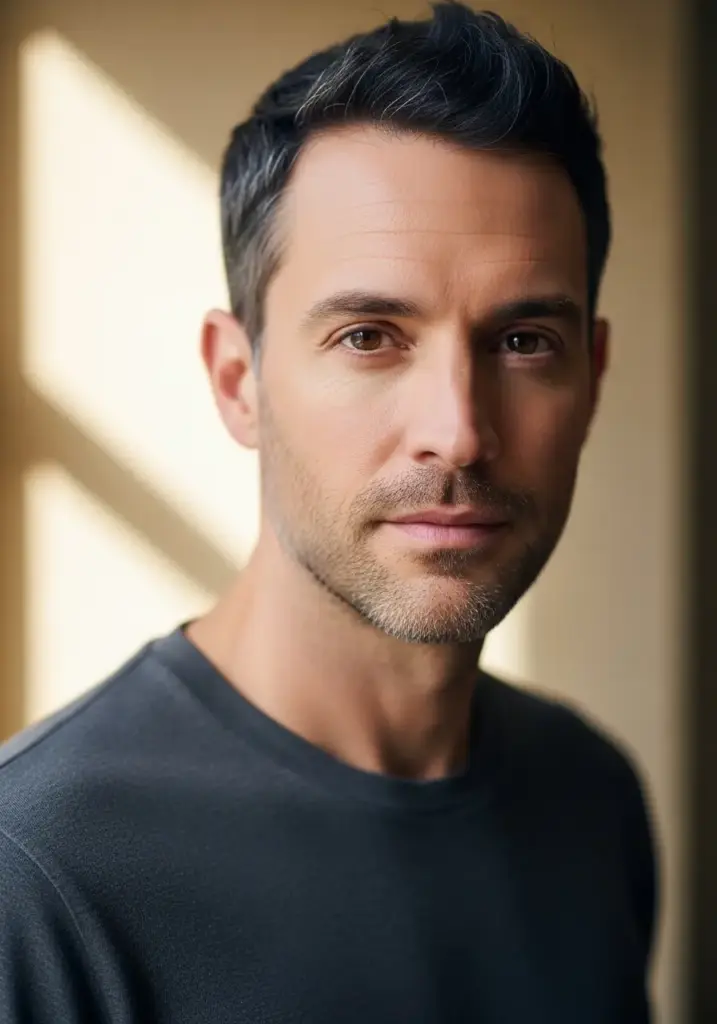
I attached following photo as reference.
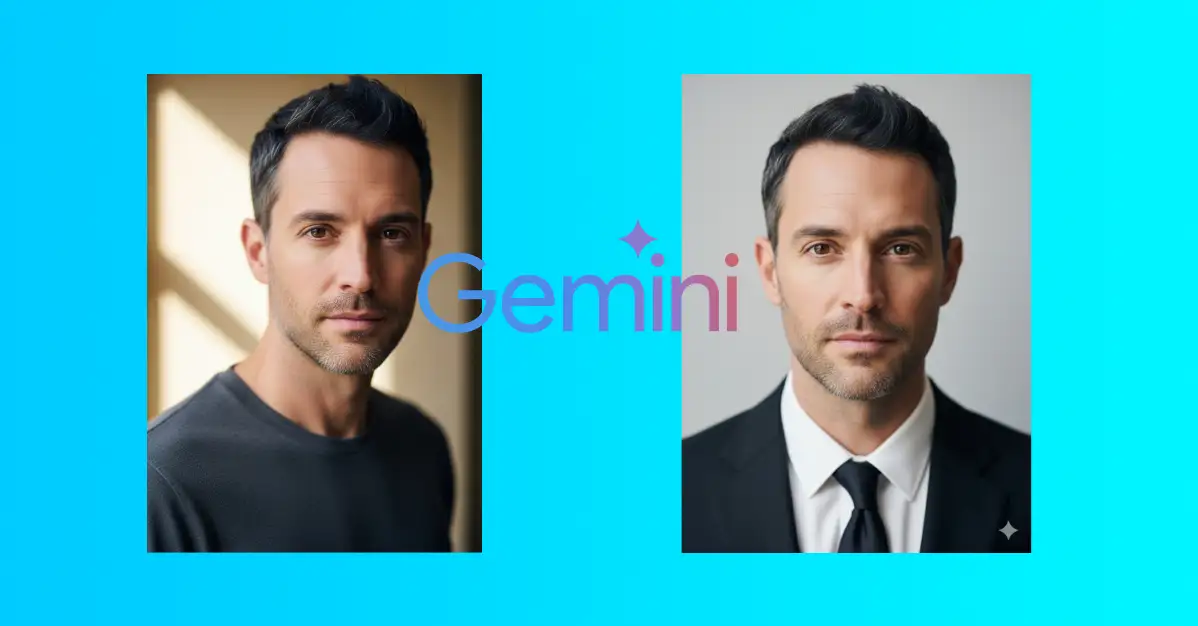
After using the prompt above, Gemini produced a clean, centered photo with a white background, formal clothing, and proper lighting.
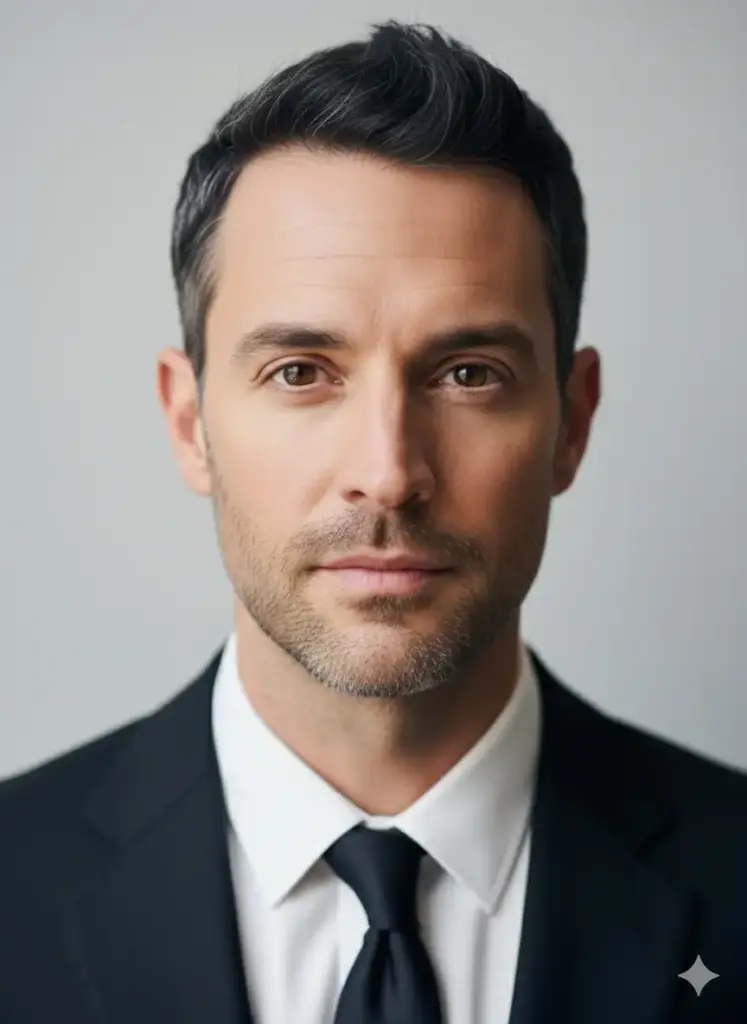
The result looked like something you’d get from a professional studio, all from my phone in under a minute.
What If You Need Multiple Copies?
If you need more than one copy for applications or backups, you can try asking Gemini to create a printable sheet:
Create a printable sheet containing 8 identical passport-size photos based on the edited image. Arrange them neatly with small equal spacing between each photo. Keep the white background consistent across the sheet. Use a standard 4×6 inch (10×15 cm) layout suitable for photo printing.
Here’s my honest take though, this sometimes works, but sometimes the dimensions get messy during printing. The spacing might shift, or the sizing could be slightly off.
A Better Way to Create Multiple Copies
If you need several copies on one sheet, use a proper photo editing software instead. Here’s what I do:
Download the single passport photo Gemini created. Open it in software like Photoshop, GIMP (free), or even Canva. Create a new document with the right dimensions for your sheet. Then copy and paste the passport photo multiple times, arranging it neatly on the sheet.
This gives you full control. You can adjust spacing exactly how you want it. The sizing stays consistent. When you print, everything comes out right.
It takes a bit longer than asking Gemini for a sheet, but it’s worth it. You won’t have printing headaches later.
Gemini makes creating a passport photo way easier than it used to be. No appointment needed. No travel. No paying for a photo shoot.
You get a professional-looking result in minutes. For that single photo, Gemini does a great job. For multiple copies, just use the traditional method with editing software.
Give it a try next time you need a passport photo. You’ll save time and money.