How to Transform Your Sketch to Video Using AI
I’ve always loved sketching. There’s something satisfying about putting pencil to paper and creating something from nothing.
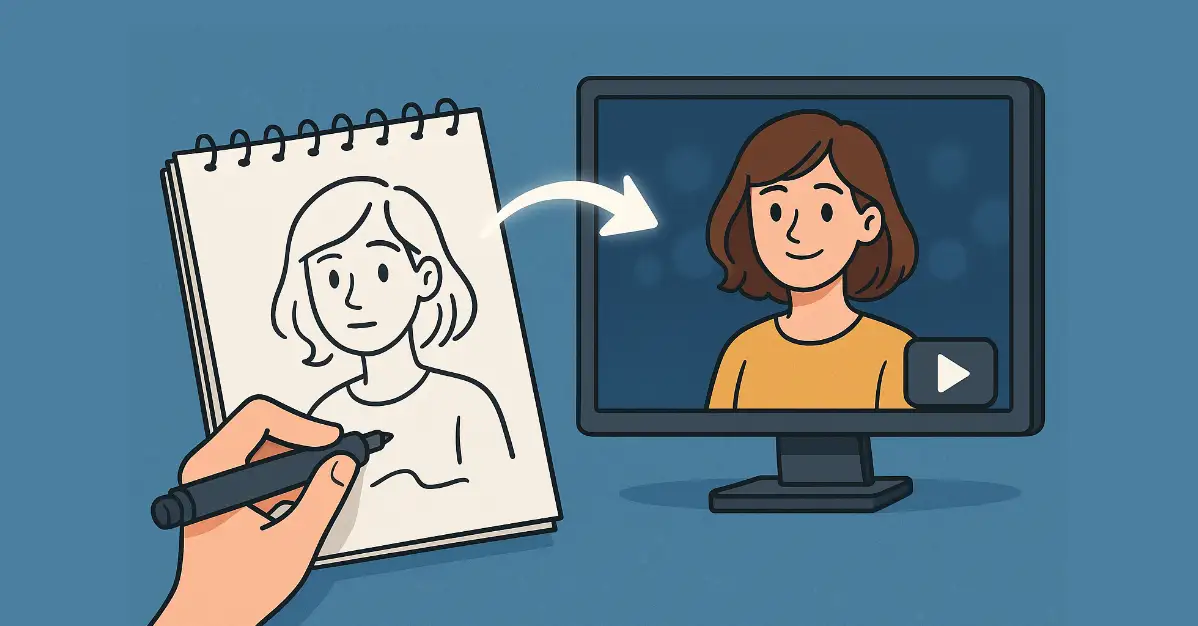
But recently, I discovered something that took my sketches to a whole new level, turning them into videos using AI. It sounds like magic, but it’s actually pretty straightforward once you know the steps.
Before we jump into the how, let me tell you why this matters. A sketch is static. It’s one moment frozen in time. But a video? A video brings your sketch to life. You can show movement, emotion, and dimension that a flat image simply can’t capture.
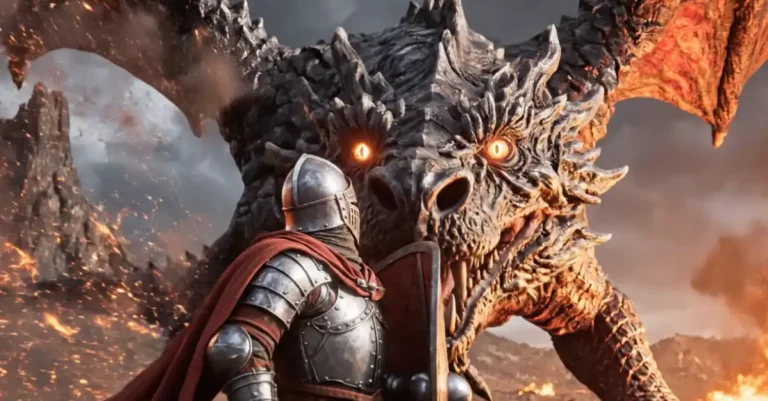
I started playing around with this because I was tired of my sketches sitting in folders on my computer. I wanted to see my devil sketch come to life, and that’s exactly what happened when I tried this out.
Get Started with Higgsfield AI
The tool I use for this is called Higgsfield AI. It’s a platform that specializes in generating videos and images. You’ll need to sign up, and depending on what you want to do, you might need a subscription. But it’s worth it if you’re serious about creating video content from your artwork.
Head over to Higgsfield and create an account if you don’t have one already. Take a moment to explore the interface, it’s designed to be user-friendly, so you shouldn’t feel lost.
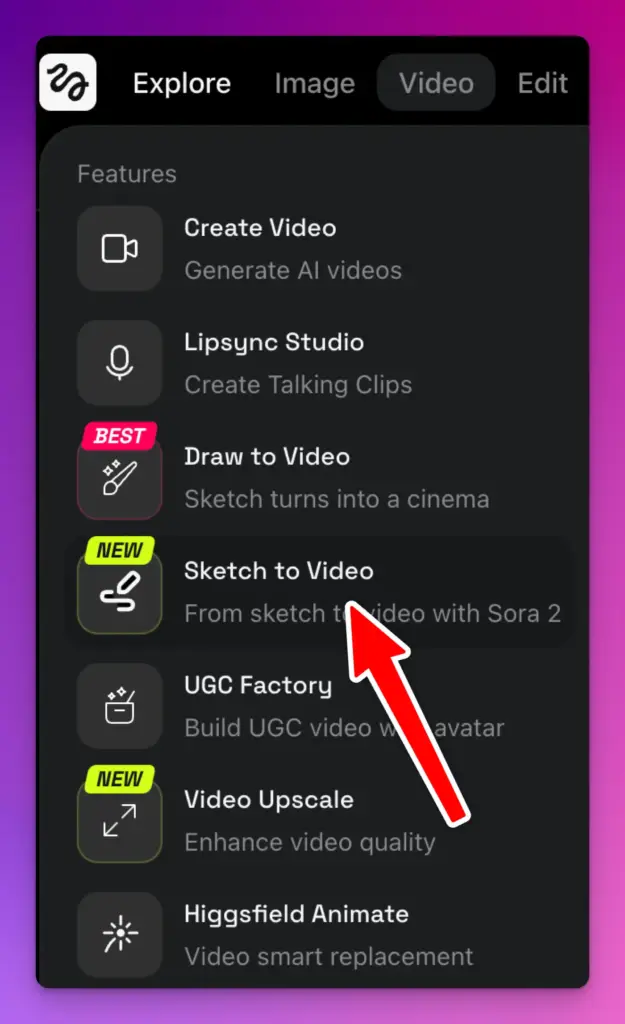
Step 1: Find the Sketch to Video Feature
Once you’re logged in, look for the video menu at the top. Click on it, and you’ll see a dropdown menu with different options. What you want is the “Sketch to Video” feature. Click on it.
This is where the fun starts. You’re about to tell an AI what your sketch should look like in motion.
Step 2: Upload Your Sketch
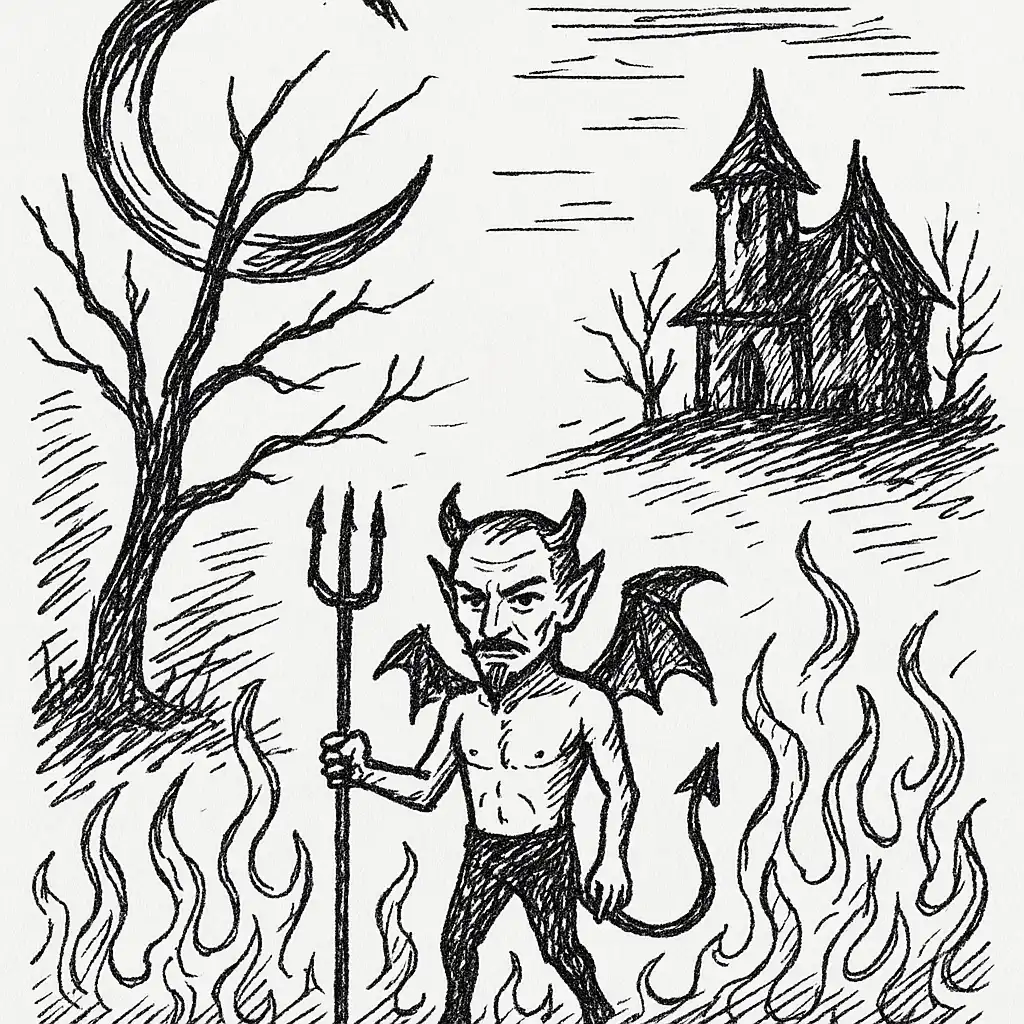
Next, you’ll see an “Upload Media” button. Click it and select the sketch you want to transform. I uploaded a simple sketch of a devil, nothing fancy, just a basic drawing. The tool doesn’t care if your sketch is detailed or minimal. It works with whatever you give it.
The file should be clear enough for the AI to understand what you’ve drawn, so make sure your sketch has decent contrast. Dark lines on a light background work best. Following is the sketch I used for this example. (I used ChatGPT to create this sketch)
Step 3: Choose Your Style
This is the fun part. Once your sketch uploads, you’ll see several options to customize how your video looks. This is where you get to be creative.
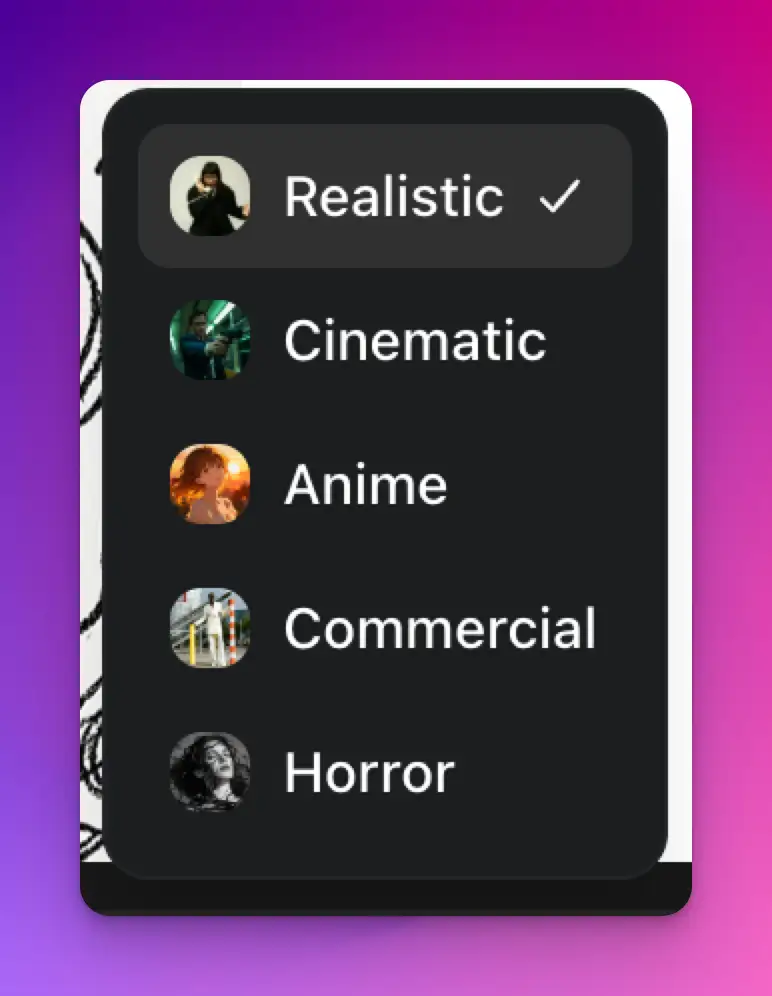
You can choose the type of video you want. Do you want it to look realistic? Maybe cinematic? Perhaps anime style? There’s also options for commercial, horror, and more. Each style completely changes the vibe of your video.
I tried the anime style with my devil sketch, and the output was surprisingly good. The character came alive with that artistic flair, and it felt true to the anime aesthetic.
Step 4: Adjust the Technical Settings
Beyond style, there are other technical settings to play with. You can change the aspect ratio, 16:9 for widescreen, 9:16 for vertical video (great for phone screens), and other options.
You also get to choose the video model. Right now, Sora 2 Pro is what we’re using, and it’s the most advanced option available on the platform. This is what generates the actual video, so picking the best model matters.
Step 5: Generate Your Video
Once you’ve made all your choices, it’s time to hit generate. Click the button and then wait. This is the hardest part, honestly. It usually takes a few minutes for the AI to process your sketch and create the video.
During this time, the AI is doing a lot of work. It’s taking your 2D sketch and figuring out how to make it move in a way that matches the style you selected. It’s adding depth, motion, and life to your drawing.
What to Expect
When your video is ready, you might be surprised at what you get. The results are usually impressive. The AI fills in details you didn’t draw, adds motion that makes sense, and creates something that actually looks like a real video.
With my devil sketch, I was amazed at how the AI interpreted my simple lines. The character had personality, movement felt natural, and the anime style was applied consistently throughout.
Tips for Better Results
If you want to get the best videos, here are a few things I’ve learned. First, make sure your sketch is clear and has good contrast. Fuzzy or faint lines won’t work as well.
Second, think about the style before you upload. If you want realistic, draw something that can look realistic. If you want anime, a stylized sketch might work better.
Finally, don’t be afraid to try different styles with the same sketch. You might be surprised which one works best.
Converting sketches to video using AI is easier than you’d think, and the results can be really impressive. Whether you’re an artist looking to showcase your work differently or someone who just wants to have fun with creative tools, this is worth trying.
Give it a shot. Upload a sketch, pick a style, and see what happens.